What Are Goddess Braids? + 13 Inspiration Photos for Your Appointment

If your go-to braid style is box braids, why not opt for goddess braids? This braid style is like box braids with a twist — you’ll see curly strands of hair throughout the braid and/or at the ends.
There are many versions of goddess braids, whether you like your braids long and voluminous or up and out of your face. We’ll show you different styles of goddess braids, plus how to maintain them. Once you’ve decided on your goddess braid style, don’t forget to book an appointment with a braider who specializes in goddess braids.
What are goddess braids?
Goddess braids are very similar to traditional box braids, but they tend to be larger and raised higher. They are woven close to the scalp, similar to cornrows. The biggest distinction between goddess and box braids is that goddess braids are usually long, thick, and have added curly hair extensions throughout the braids and ends.
How long does it take to install goddess braids?
The time it takes to install goddess braids will depend on a few factors. It can take just four hours or up to a full day. The installation time will depend on:
- The size of your head
- Your braid length
- How large the sections are
- How fast your braider can braid
If you haven’t had goddess braids before and don’t have a previous time estimate, it’s best to block off a good chunk of the day for installation. By doing so, your braider won’t feel rushed with installation and can provide you with the best results.
How much do goddess braids cost?
Average Prices for Goddess Braid Installation Around the United States
| Virginia (VA) | $308 |
| Missouri (MO) | $38 |
| Maryland (MD) | $150 |
| Massachusetts (MA) | $251 |
| Arkansas (AR) | $62 |
| Average Cost | $162 |
The total cost of goddess braid installation will depend on several factors, including the price of hair extensions and the level of braid intricacy.
We found that the average cost of goddess braid installation in the United States is $162.
Disclaimer: These average costs are the result of averaging available proprietary data from several states. For more accurate costs, it’s best to consult your hairstylist on their pricing.
What are the best ways to prepare your hair for goddess braids?
It’s exciting trying out a new style of braids, but don’t forget to take care of your natural hair beforehand. Follow the process below to get your hair braid-ready.
Shampoo your hair
The first step is to shampoo your hair — this step can’t be skipped when doing a protective style. Use a shampoo that’s sulfate- and paraben-free. While shampooing your hair, focus on scrubbing your scalp. You won’t be able to do a deep clean like this when your goddess braids are installed.
Condition and moisturize your hair
After your hair is thoroughly cleansed, it’s time to bring back some moisture. Start with applying a moisturizing conditioner on your wet hair. You can use a wide-toothed comb to help distribute the product and detangle your hair. Rinse out your hair and apply a leave-in moisturizer. Repeat the same step of using a comb to distribute the product.
Stretch your hair
If you have curly (3C hair) or tightly coiled hair (4C hair), your braider may recommend you stretch your hair out before getting goddess braids installed. It makes the braiding process much easier.
- Blow dry method: The easiest method to stretch your hair is by blow-drying it. Use your blow-dryer with the “cool” setting while brushing through your hair. If you opt for a heat setting, be sure to use a heat protectant.
- Braid method: This method requires you to braid your hair when damp and allow it to air dry. You can choose to do this when your hair is already dry, but it might not be as easy or effective.
- Elastic band method: Start by separating your hair into four or more equal sections. Wrap a small elastic band around the base of each section. Working on one section at a time, wrap elastic bands around the length of the hair section. Start from the roots until you get to the ends. Repeat with all other sections and allow your hair to air dry. Once your hair is fully dry, you can remove the elastic bands.
How to wash and maintain your goddess braids
After getting your goddess braids installed, you’ll want to do everything you can to keep your braids looking nice and fresh. Here are some tips for washing and maintaining your braids:
Washing your braids:
- Shampoo your scalp: First, soak your braids in water and cover your scalp with shampoo. Rub your scalp until it’s fully saturated with shampoo. Let the shampoo run through your hair, and then rinse with cold water.
- Condition your braids: To bring back moisture, use a light conditioner that can penetrate your braids but can easily be washed out. Leave the conditioner on your hair for three to five minutes, then wash it out.
- Dry your braids: Once your hair is fully cleansed, wrap your goddess braids in a microfiber towel to soak up excess water. You can then either let your braids air dry, or use a blow-dryer on the “cool” setting. Make sure to fully dry your braids to avoid mildew growth.
Maintaining your braids:
- Oil your scalp when needed: A couple of weeks after you get your goddess braids installed, you may notice your scalp becoming itchy or dry. Use an oil, like grapeseed or jojoba oil, to hydrate and soothe your scalp.
- Wrap your hair in a satin/silk bonnet or hair wrap: Covering your braids before going to sleep will help protect your style, minimize frizz, and extend the life of your braids.
- Avoid using dry shampoo: Dry shampoo will create visible buildup and residue in your braids. Dry shampoo is also used to soak up oil, which you want to avoid with braids. Your goddess braids require all the natural oil they can get, as it helps keep them moisturized and lasting longer.
Pros and considerations of goddess braids
There are several benefits of wearing goddess braids:
- Low maintenance: Goddess braids require little maintenance. Remember to oil your scalp every so often and cover your braids in a satin bonnet or hair wrap at night.
- Long-term protective style: Goddess braids can be worn for six to eight weeks, depending on how well you care for your braids.
There are also considerations to keep in mind with goddess braids:
- Long installation time: Similar to other braided styles, the installation time for goddess braids can be quite long. Again, this will depend on the type of goddess braids you want.
- Heavy hairstyle: Goddess braids require hair extensions to achieve those long, beautiful braids. When first installed, your hair can feel rather heavy, which you will likely get used to over time. There’s also the potential for damage to your edges and baby hairs. That’s why it’s crucial to choose an experienced braider who knows how to avoid damaging your hair during the installation process.
- Difficult to install yourself: Braids can be difficult to install yourself, especially goddess braids due to their length and style. If you don’t have much experience with braiding your own hair, we recommend connecting with a braider who specializes in goddess braids for the best results.
- Goddess braids inspiration
Now that we’ve got the basics down about goddess braids, let’s take a look at some of our favorite goddess braid styles to try out.
Classic goddess braids
These are the most common goddess braids you’ll come across. It’s a simple yet classic look.

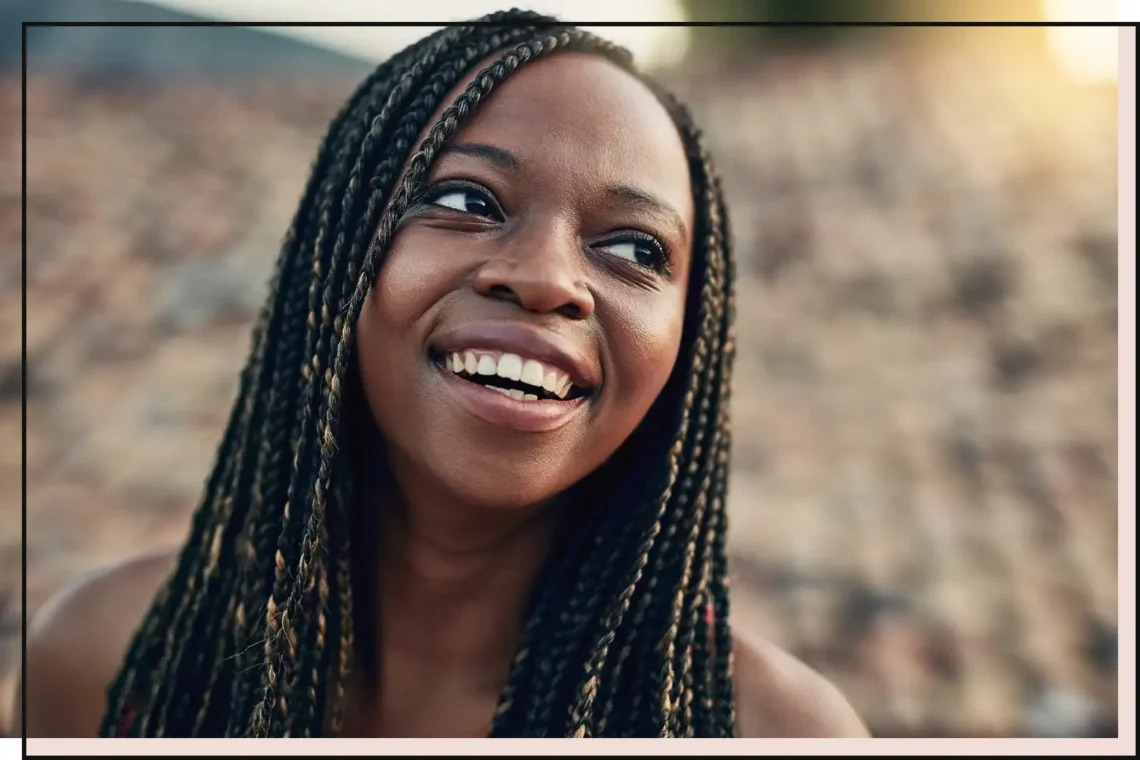
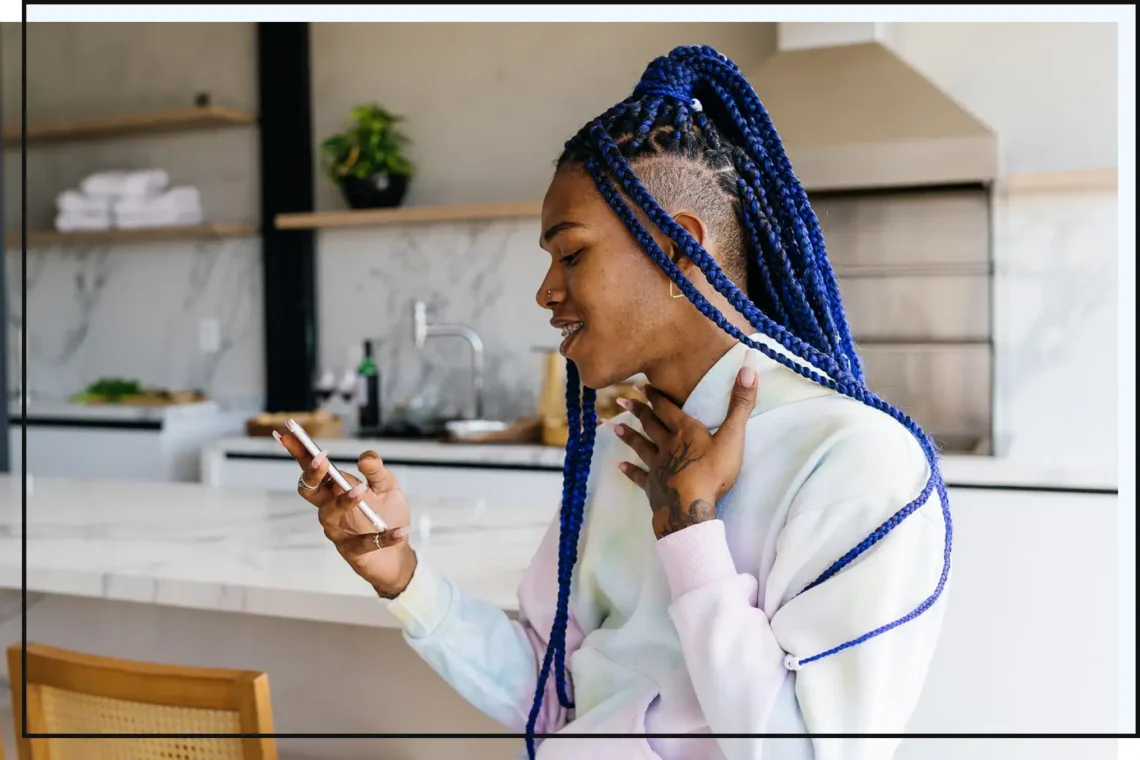
Thin goddess braids
Thin goddess braids are perfect for those looking to try the look without too much added hair. Plus, it really shows off the beautiful curled ends and individual braid strands.
Mixed-size goddess braids
Although goddess braids tend to be chunkier than other braiding styles, there’s no reason you can’t have multiple braid sizes. We love the balanced look of thicker goddess box braids and skinny braids alternating throughout the hair.
Knotless goddess braids
If you’re looking to have goddess braids without a bunch of extra weight added to your head, try knotless goddess braids. It’s a good lightweight alternative to other goddess braid styles.

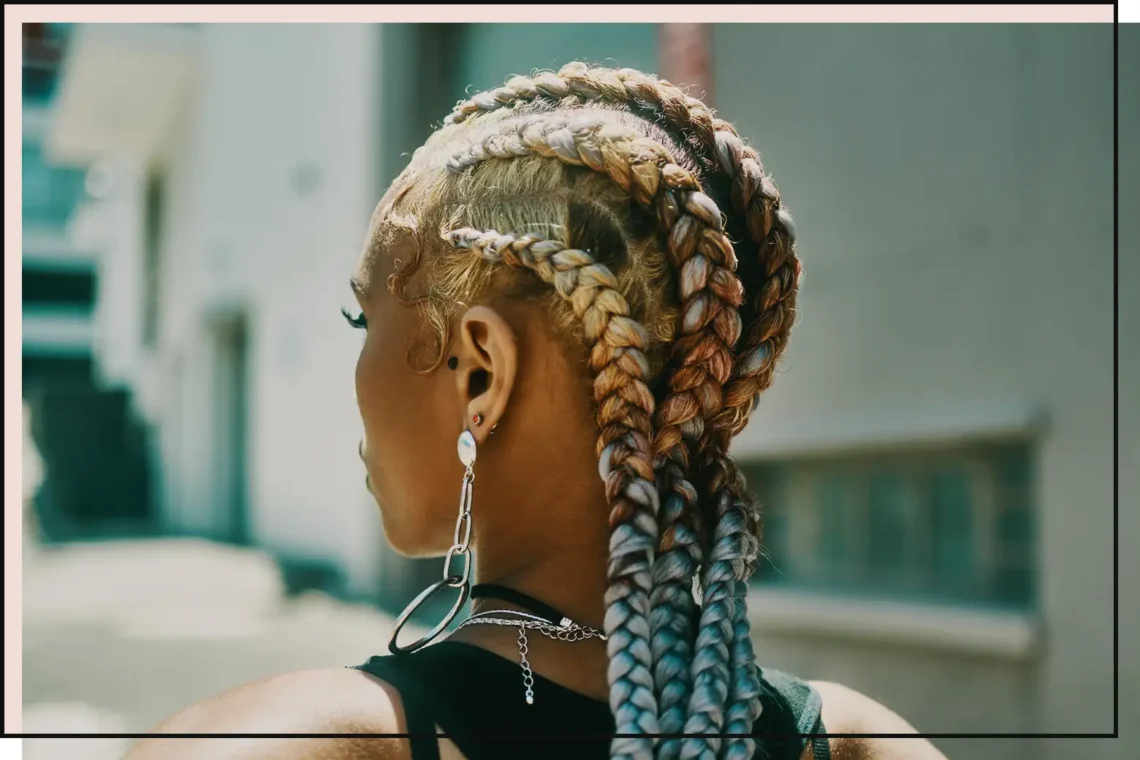
Side goddess braids
If you prefer a side part, you can easily complete the look with long goddess braids. Just let your braider know where you want your hair parted, then watch the magic begin!

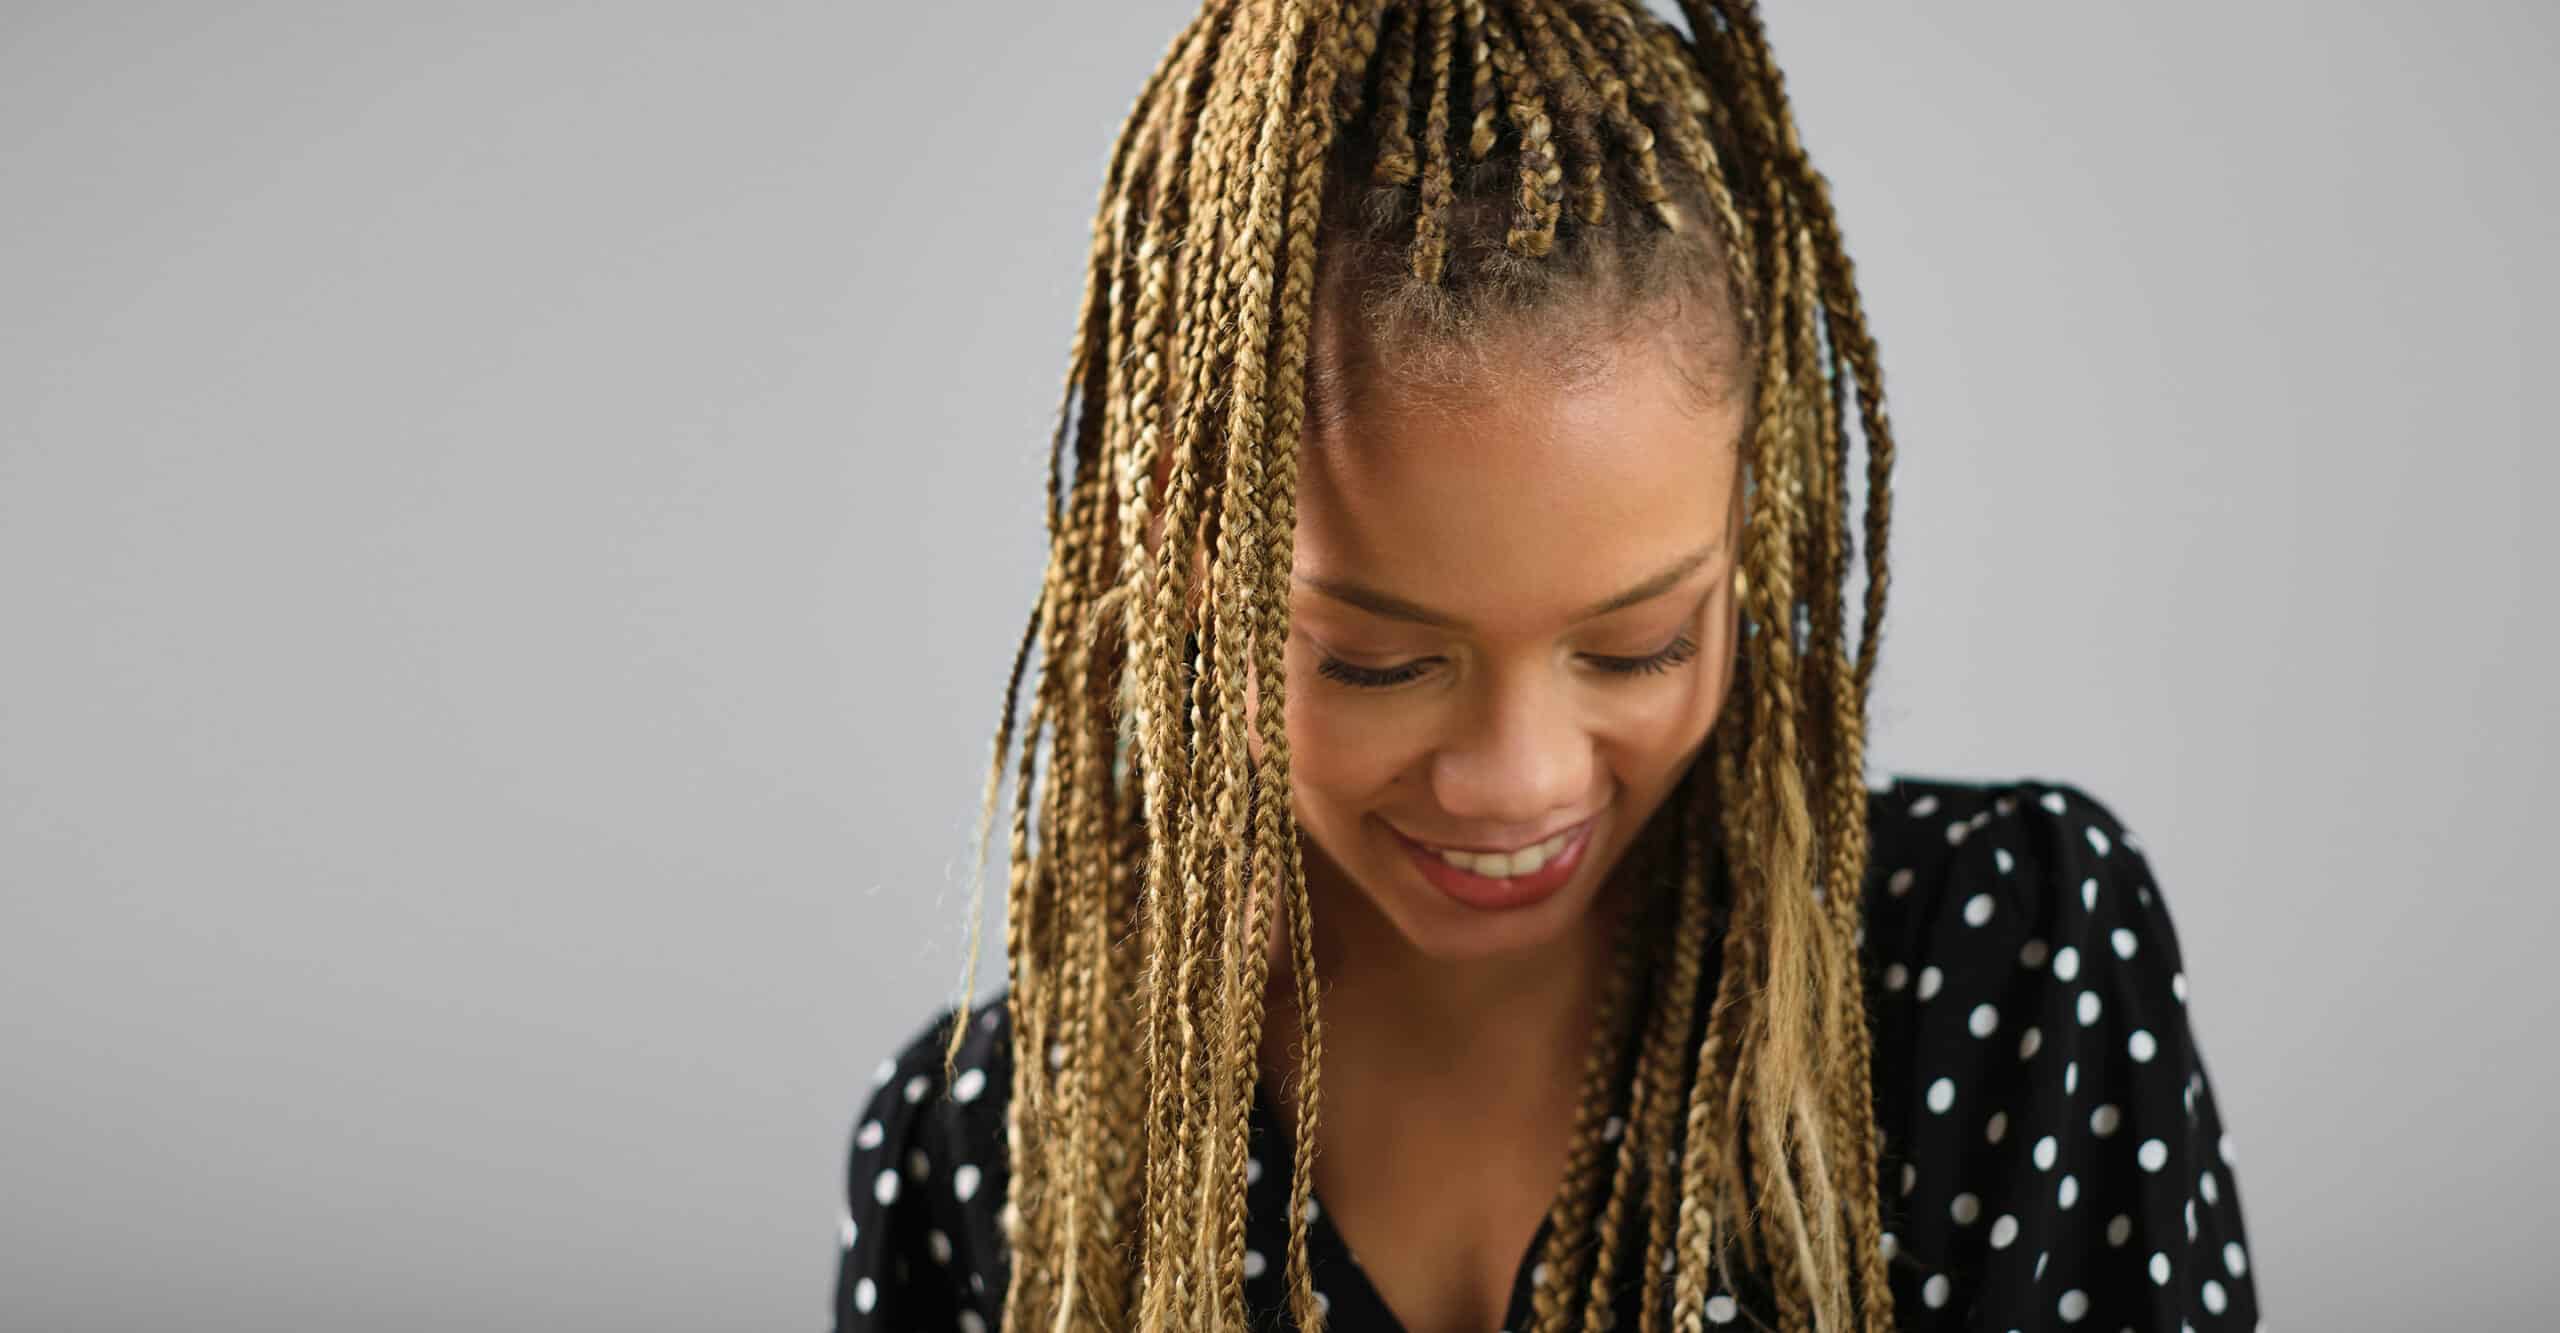
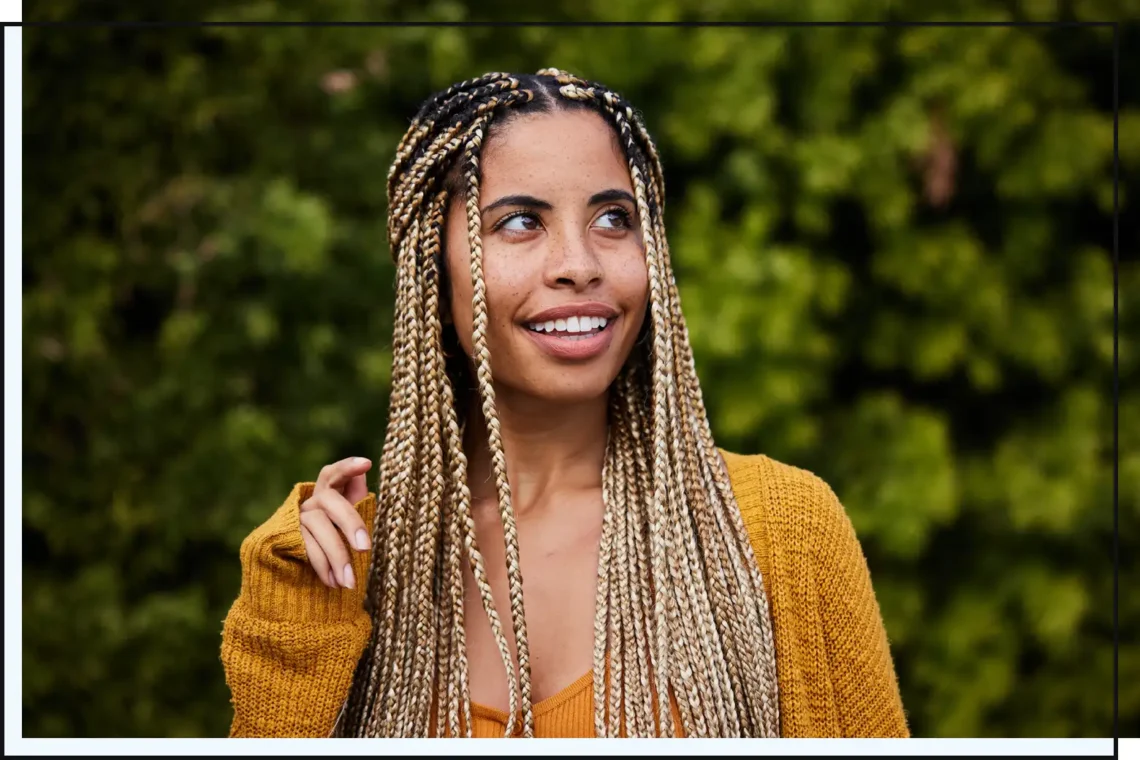
Blonde goddess braids
One thing we love about braids is that there are so many different options you can experiment with, like adding blonde extension hair into your goddess braids.
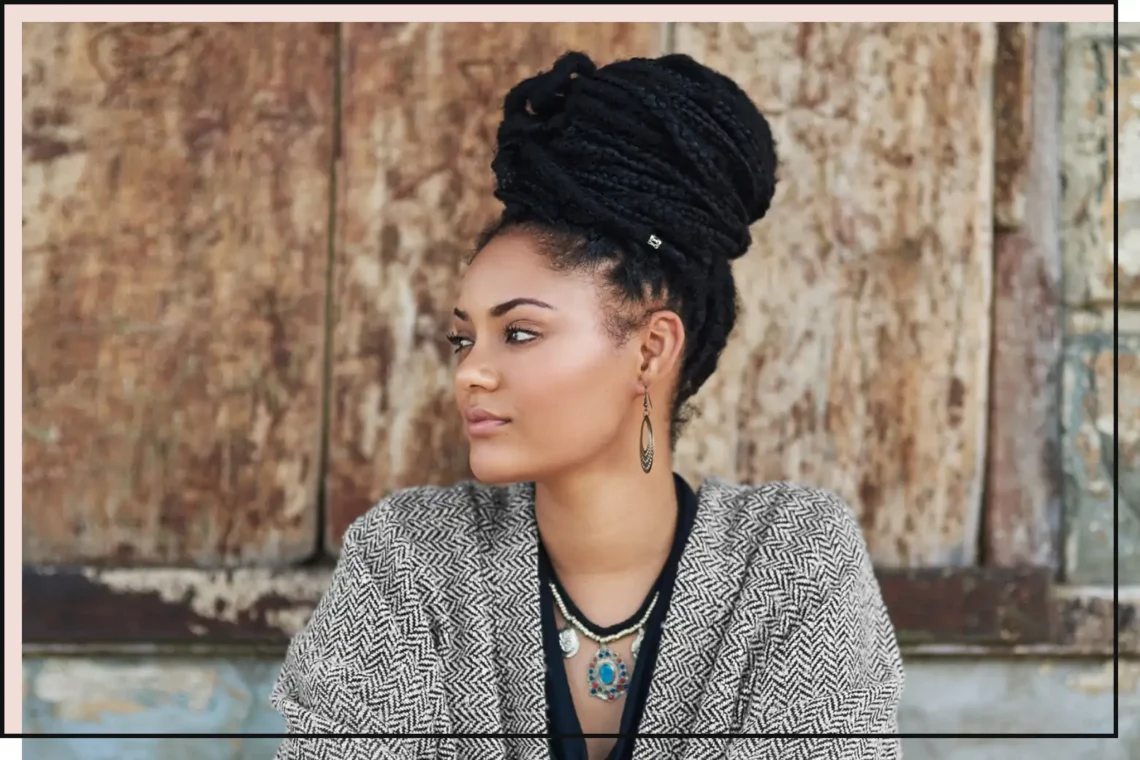
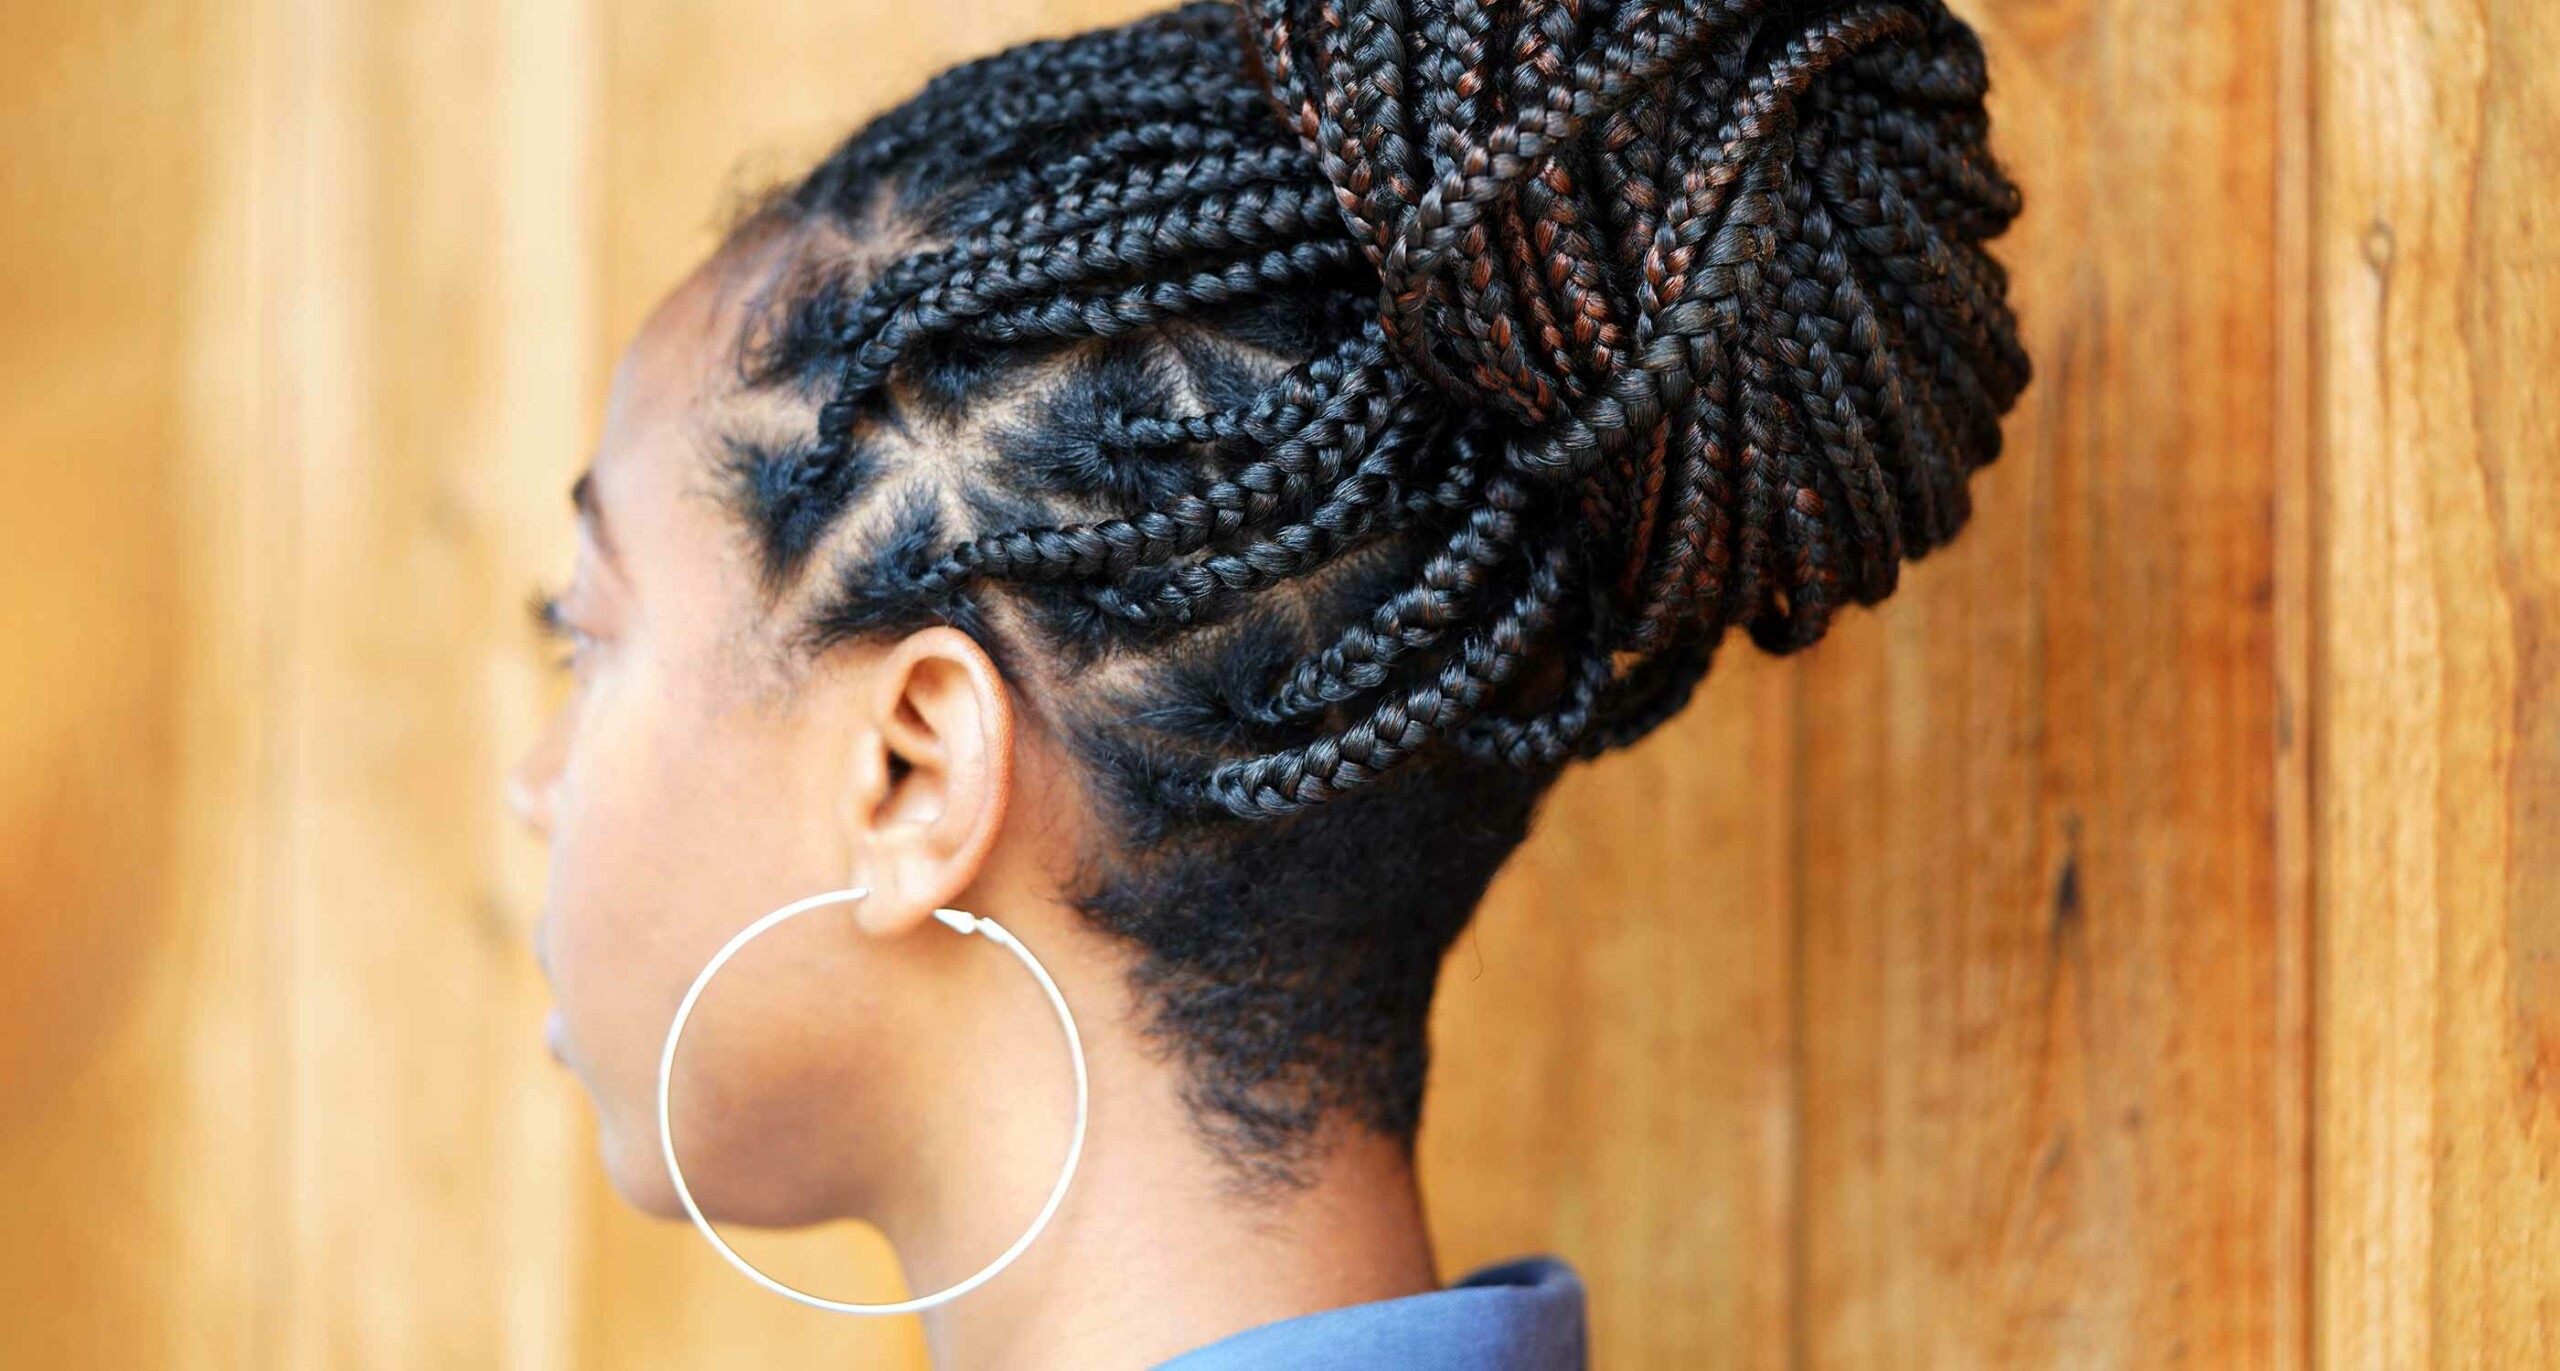
Goddess braids in a high bun
We’re digging this sleek style — it showcases the goddess braid stitching but also provides plenty of volume and sophistication.
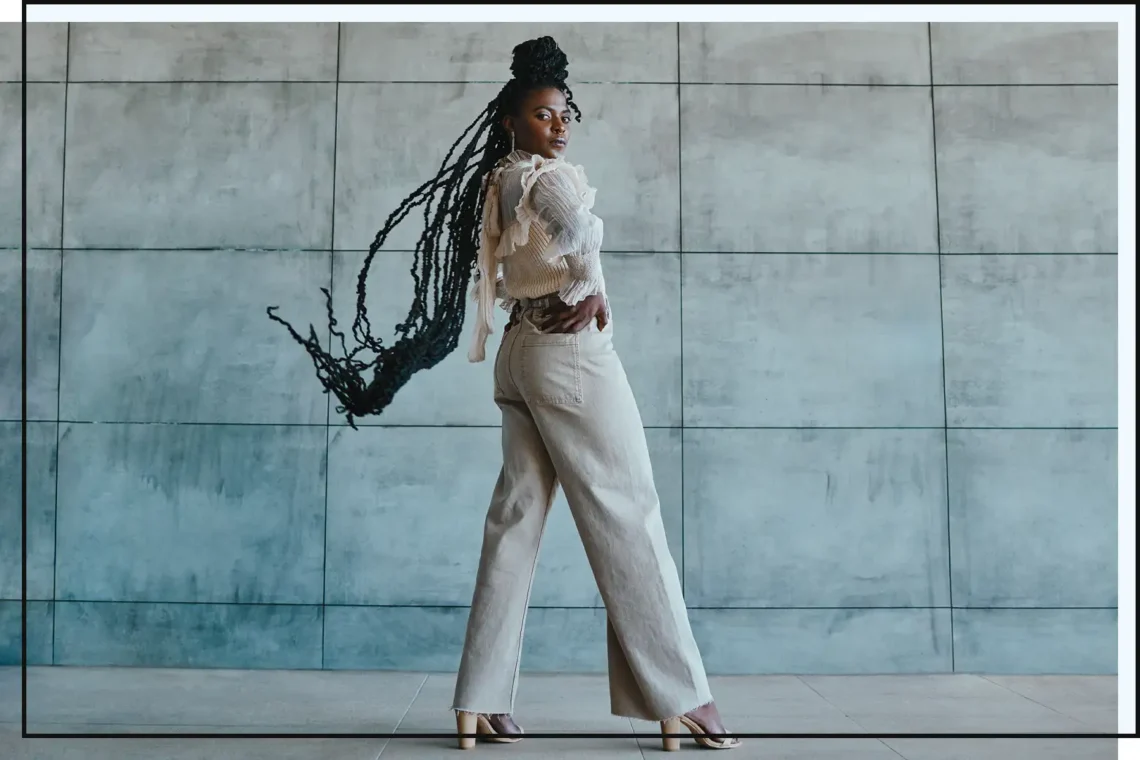
Rapunzel goddess braids
What’s more goddess-like than full-length rapunzel braids? Go for extra long braids with curly ends for that princess look.

Long goddess braids
Your long goddess braids don’t have to reach the floor to still look regal. Even just past your belly button is perfect for achieving that bohemian look you’re after.
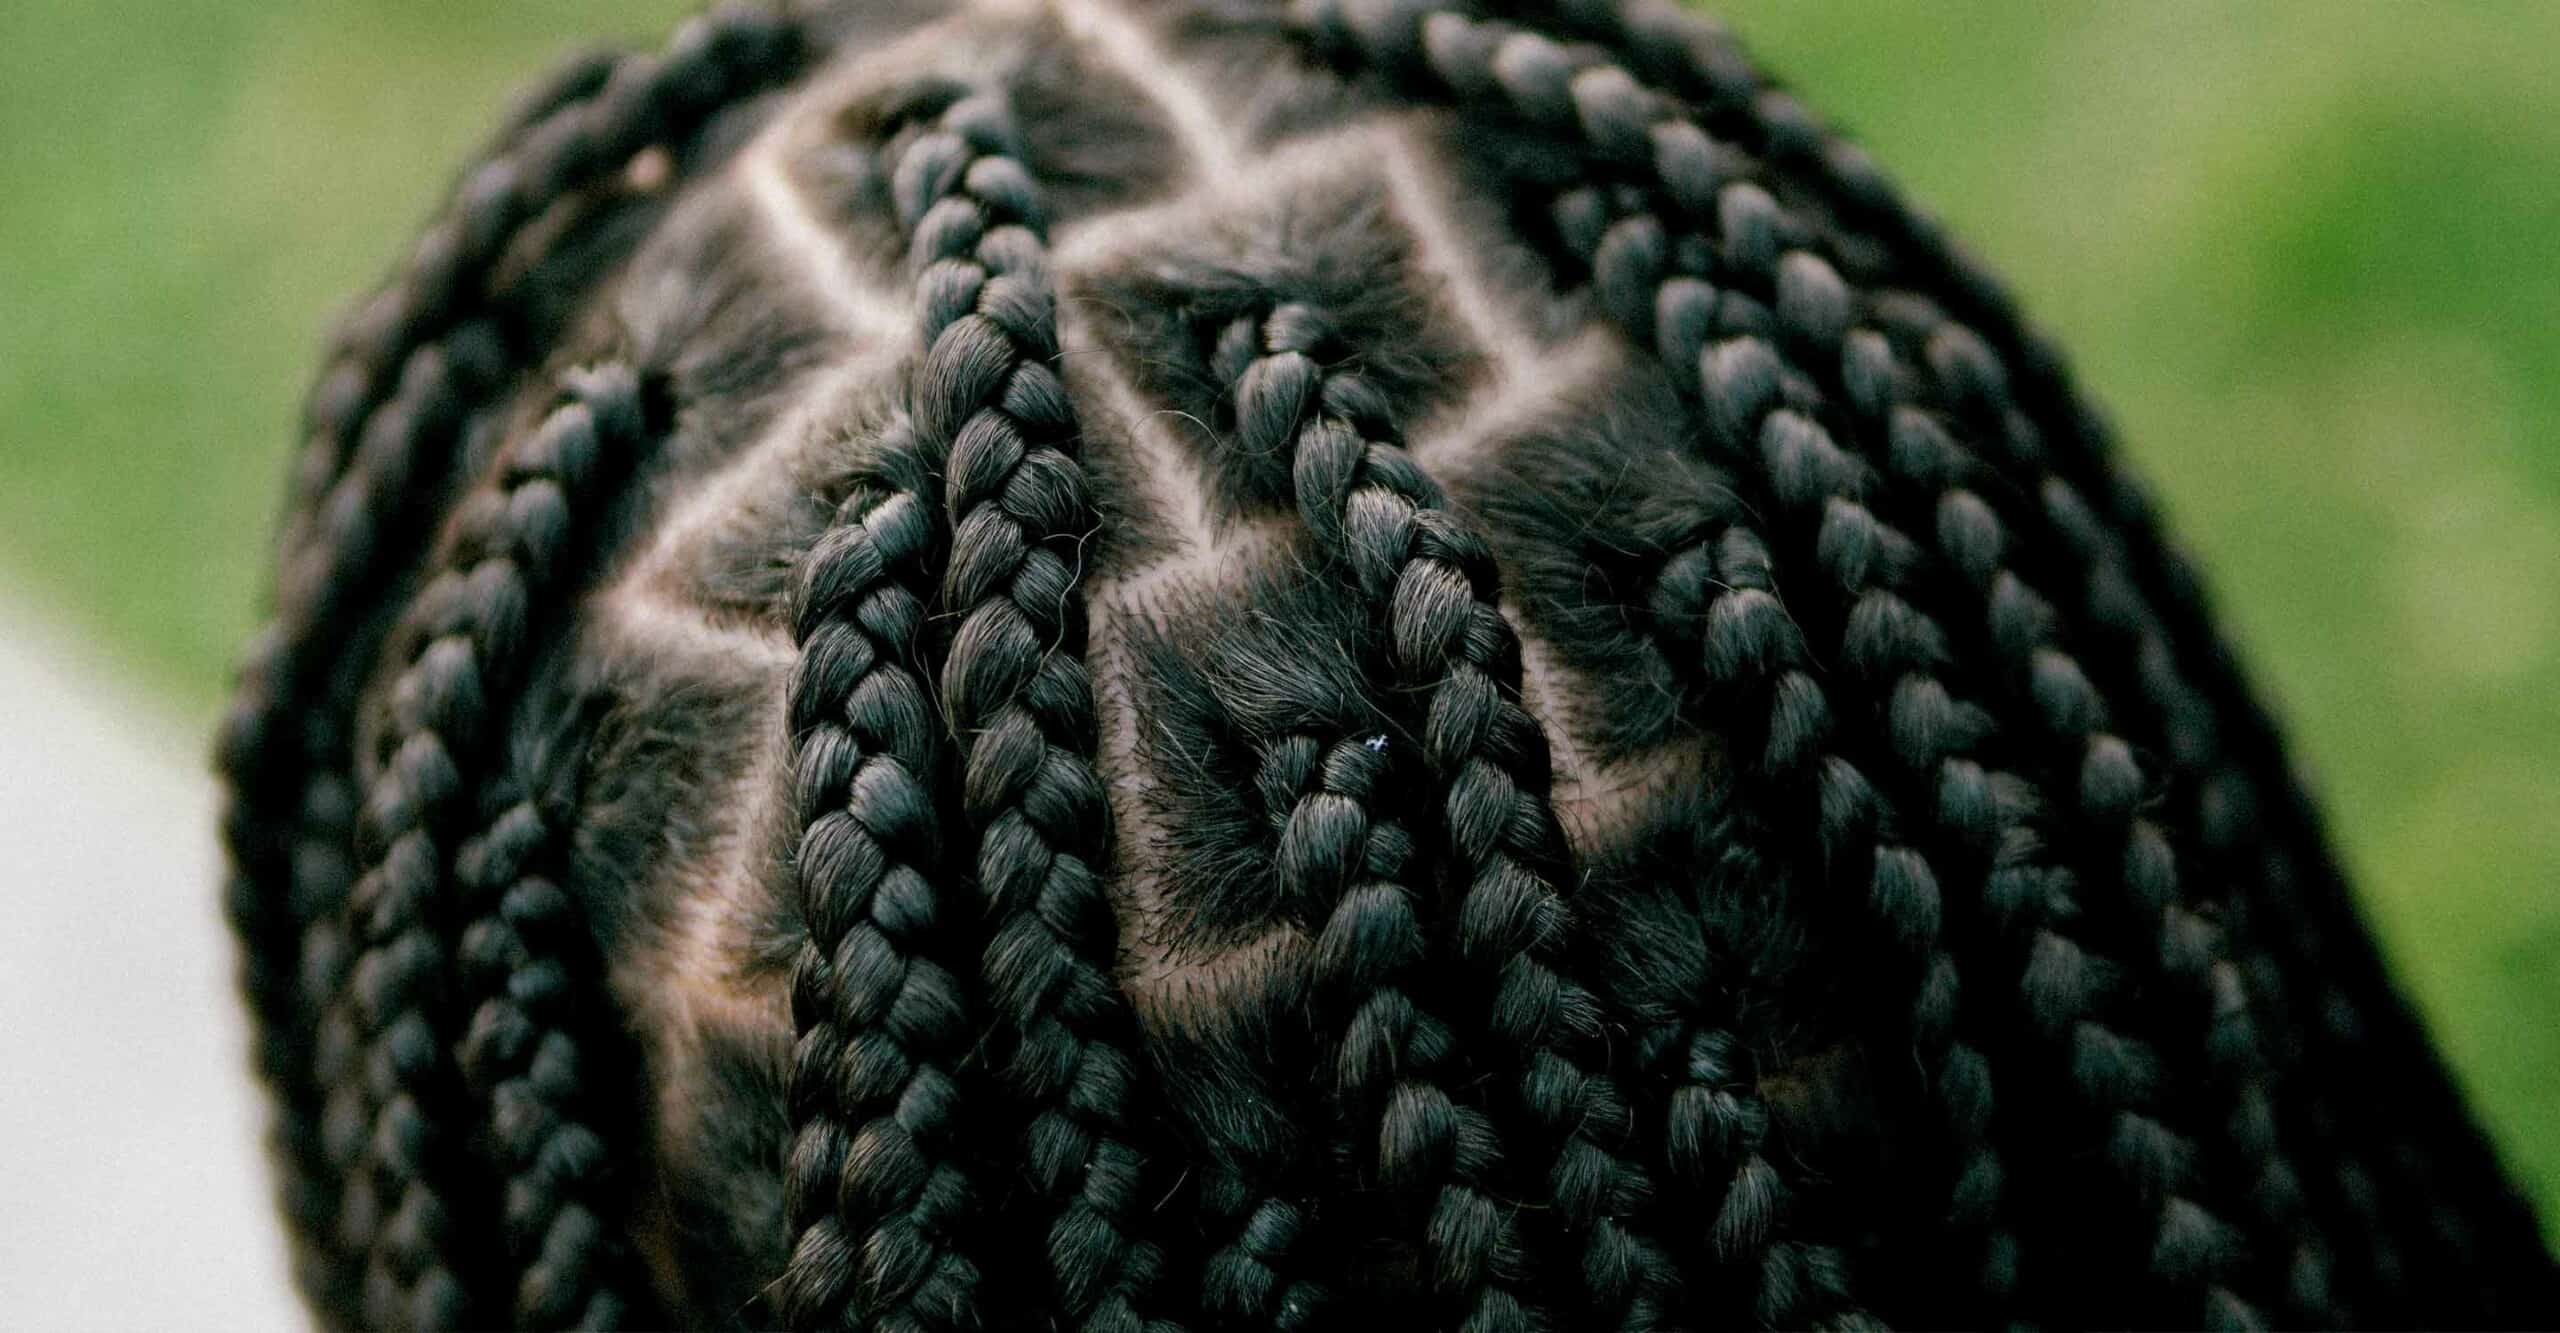
Small goddess braids
Small goddess braids are the perfect blend between a Fulani braid and goddess braid. It’s a great transitional braid style if you’re interested in trying out micro braids or skinny cornrows in the future.

Goddess braids with wire
Make your braids shine with golden wire woven into your strands.
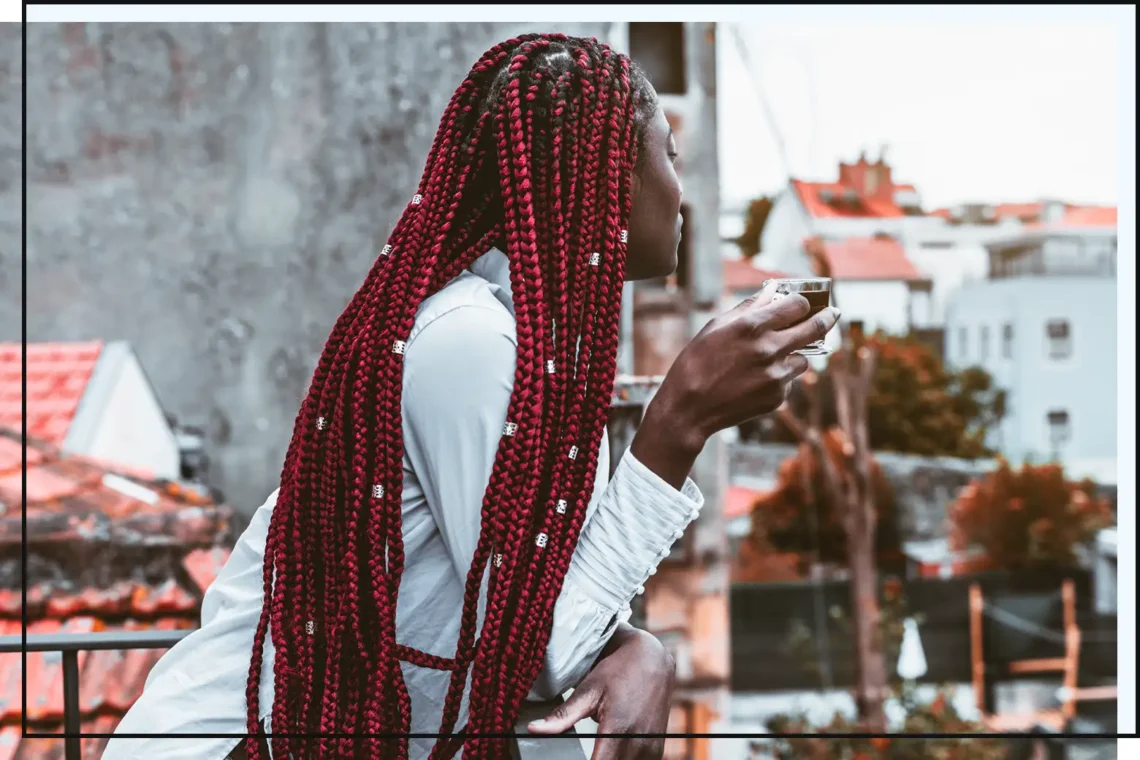
Red goddess braids
We’re loving the fierceness of fiery red goddess braids. You can also try mixing it up with different colors for a rainbow-inspired look.

Intricate goddess braids
Add a couple of braid patterns into your goddess braids for a graphic look, like criss-cross or heart braids.
Goddess Braids FAQ
Below are frequently asked questions about goddess braids and other similar braid styles.
How do you remove goddess braids?
The easiest way to remove your goddess braids is by cutting your braids about an inch below your natural hair ends. This makes it easier to unravel the braids, especially if you have long goddess braids installed. If you don’t feel comfortable cutting your braids yourself, you can go back to your braider, and they’ll be able to uninstall your braids.
What is the difference between goddess braids and box braids?
There’s not much difference between goddess braids and box braids, as goddess braids branch off from traditional box braids. Goddess braids are essentially less uniform box braids with curly hair bits and added length.
What is the difference between goddess braids and cornrows?
The most obvious difference between goddess braids and cornrows is that goddess braids are much thicker and raised. Goddess braids are typically much more defined than traditional cornrows.
What is the difference between goddess braids and bohemian braids?
There’s no difference between goddess braids and bohemian braids. “Bohemian” and “goddess” are used interchangeably to describe the style of braiding. You may even see them called “boho braids” for short when looking through photo examples.
Ready to start your braid journey? Book an appointment with a professional braider in your area and get excited about your new goddess braid look!