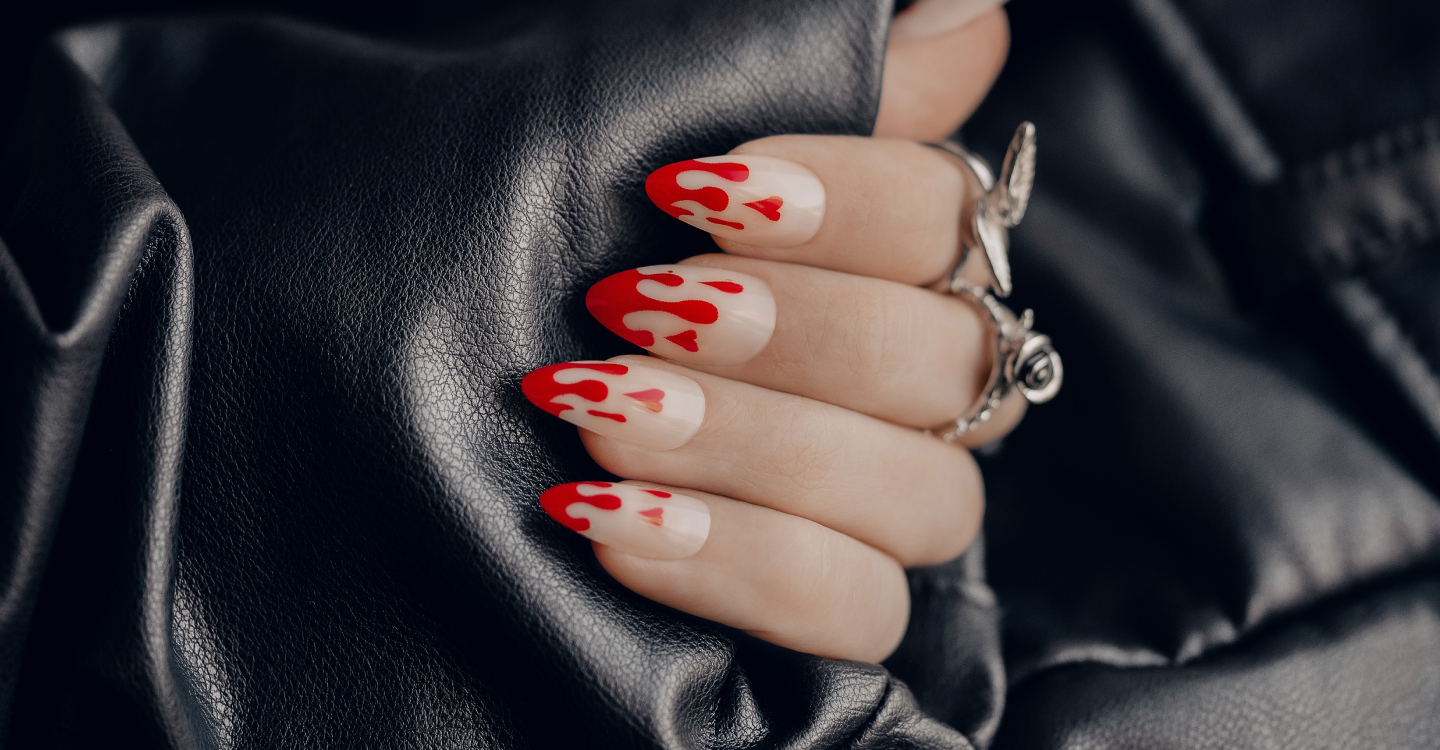
Kick Off Summer with Tie-Dye Nail Art

Remember summer camp? Crafts, s’mores, endless braid trains —that was the best. The good news is, you don’t need to be a kid to capture that carefree vibe, you just need some tie-dye in your life.
Try this DIY nail art, we have a feeling it will bring you right back to the good old days.
What You’ll Need
- Base coat nail polish
- Clear top coat polish
- Scotch tape
- A small bowl of water
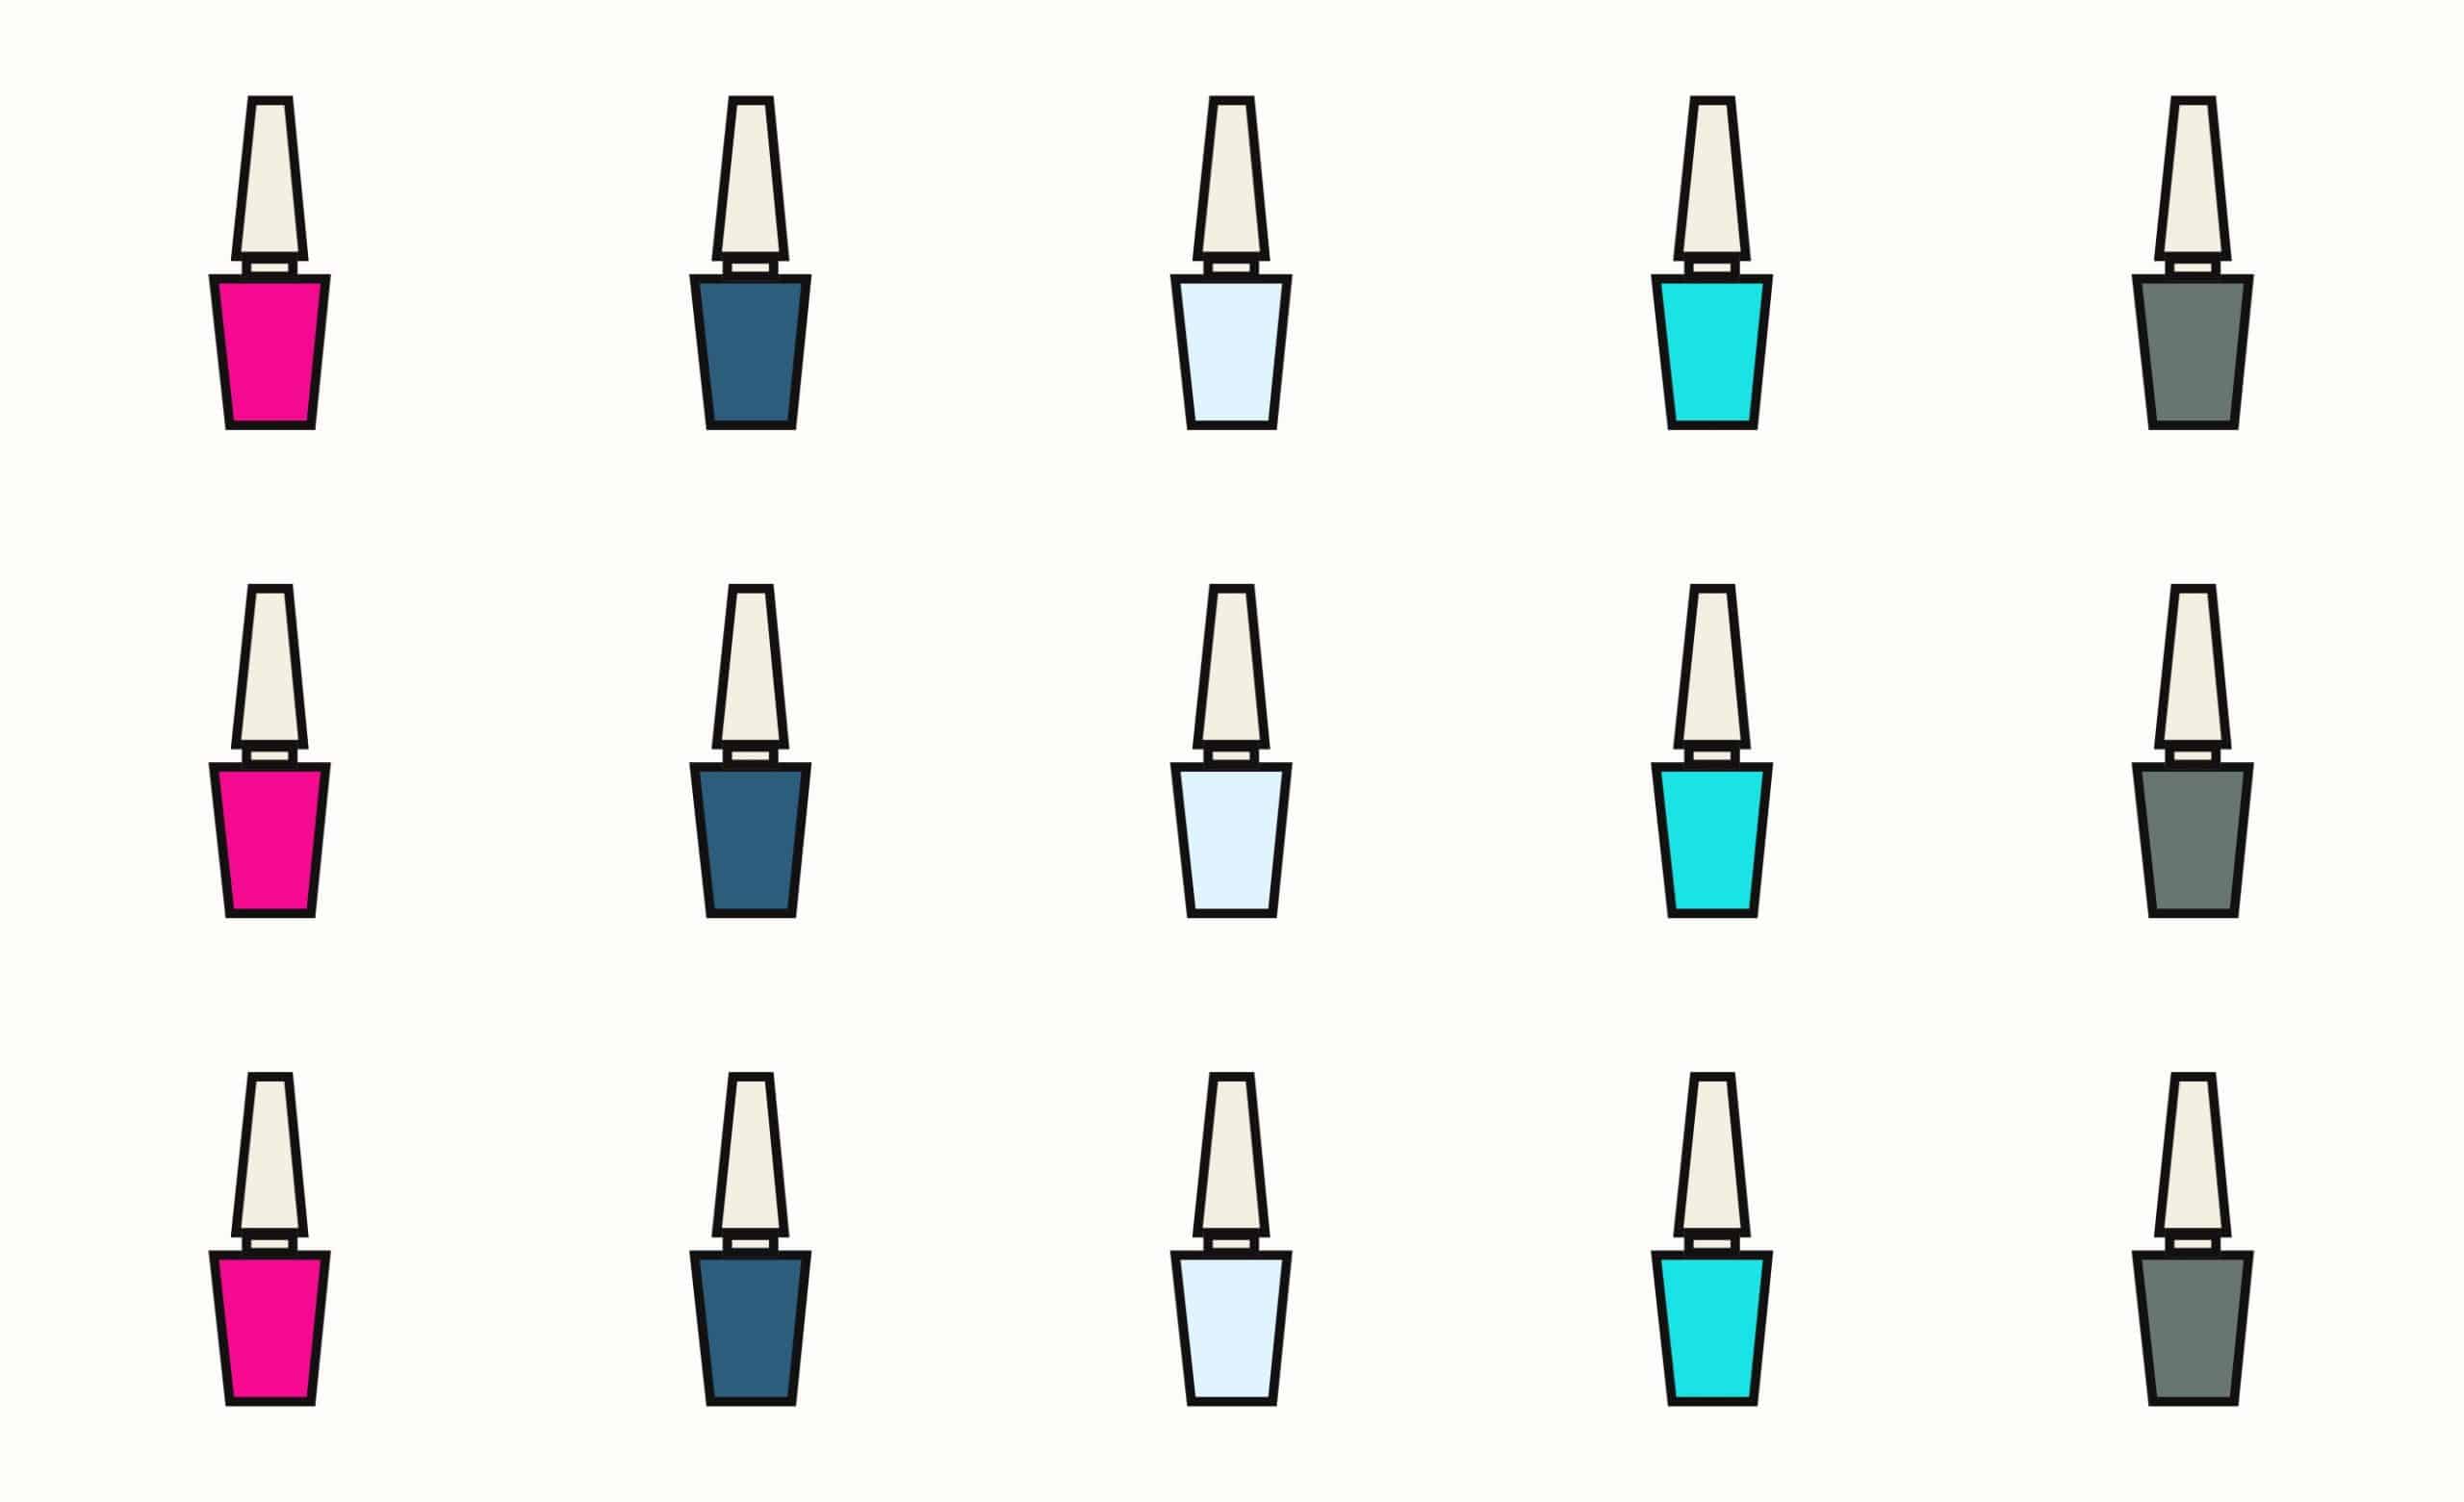
- Several nail polish colors
- A toothpick
Step 1: Lay a Base
Paint your nails with a base coat. The color of this coat will vary depending on the kind of design you’re going for. Lighter, or plain white top coats will make for a brighter end result. Darker top coats can serve as a moody backdrop for cooler colors or help bright neon colors pop.
Step 2: Tape it Off
Take clear tape and make a barrier around the outside of your nail (kind of like how a house painter tapes off certain sections.) This will keep excess paint from staining your fingers.
Step 3: Drop Some Colors
This is the fun part! Take any nail polish and drip some into the bowl of water. You probably want to start with just one drop off of the brush. This color should sit on the surface of the water and disperse a little bit. Next drip another color into the water, it should overlap your initial color a little bit. Keep this up until you have all the colors you’ll want in your design. Then take a toothpick and lightly swirl these colors together to make a pattern reminiscent of tie-dye. Don’t like the mix you came up with? Use a Q-tip and scoop the paint out and start again. The end result here should be a pretty tie-dye pattern that sits right on top of the water (here’s a step-by-step video guide if you’re having trouble picturing it.)
Step 4: Take a Dip
Turn your hand so it’s palm side up and dip one nail face-down onto your paint that’s floating in the water. You don’t have to submerge your nail, just dip enough so that the paint sticks to your nail. Gently raise your hand and flip it so your palm is facing down. You should be left with a beautiful tie-dye design sitting pretty on the top of your nail. If it got a little wonky in transit, use your toothpick to swirl the design back into shape.
Step 5: Top it Off
Repeat steps 2-4 on each nail. Once that design dries, peel off the scotch tape barrier. Next, apply a clear (or glitter!) top coat to seal it all in. Then go make a s’more or tell some scary stories to really lock in that summer camp feeling!
Want more advice on nailing DIY polish art? Set up a virtual consultation or book an appointment with your favorite nail pro today.