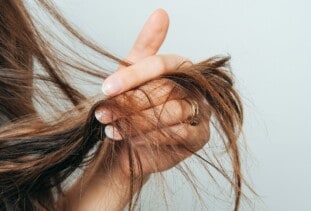
A quick weave is a style where extensions are glued to a protective wig cap before bonding it to your head. It’s a great protective style if you’re looking for something quick you can do at home.
Some believe that quick weaves are harmful to your hair — the truth is that quick weaves can harm your hair if they’re improperly installed. Otherwise, a quick weave is a pretty convenient protective style when it comes to installation, maintenance, and removal. This is just one of a few misbeliefs that we’ll debunk. Read on to learn more about quick weaves and how they’re installed.
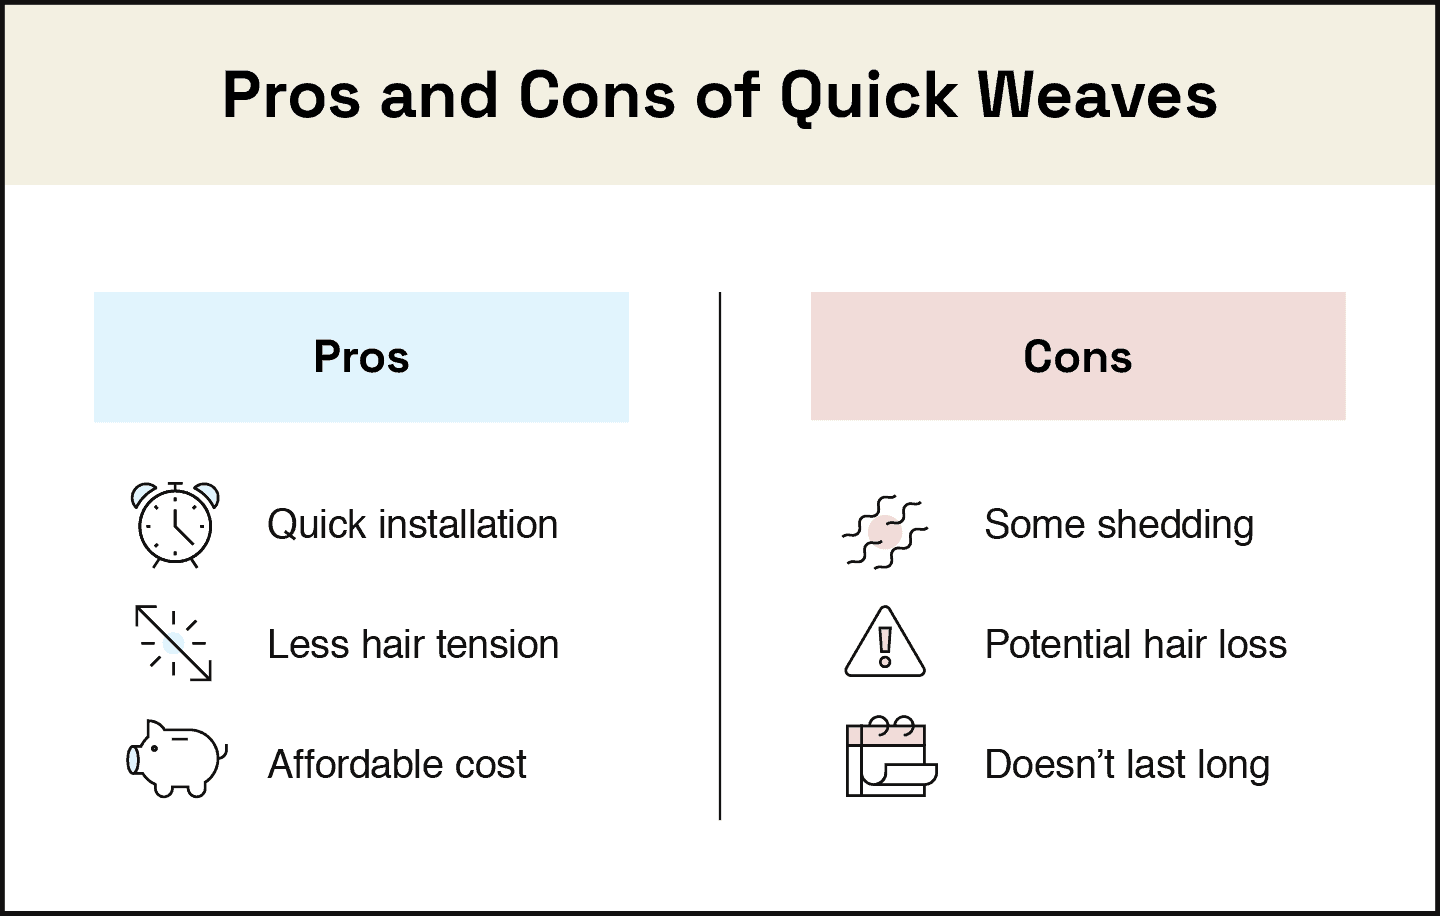
What Are the Pros of Quick Weaves?
Quick weaves are a great option if you’re looking for something fast that doesn’t need much care. We’ll walk you through some of the perks you can expect with this style.
- Affordable: Quick weaves are cheap compared to the cost of extensions like sew-ins or clip-ins. You can expect to pay between $60 to $160, depending on if you install it yourself or have it done at the salon.
- Low-maintenance: This style doesn’t require much upkeep beyond wrapping your hair at night and potentially laying down your edges again.
- Less tension on hair: You can ditch tight braids with a quick weave. Loose braids or gelled-down hair can work fine for this style. Quick weaves also add minimal strain to your hair since extensions are glued directly to the wig cap.
- Quick: Installing a quick weave takes about an hour and a half to two hours. Much less time in the chair than other methods!
- Accessible supplies: You can pick up affordable supplies from a local beauty store or online. No need for special products.
What Are the Cons of Quick Weaves?
Although quick weaves have many benefits, it may not be the best route for everyone. Most drawbacks are a result of improper installation. We’ll walk through a few of these cons below.
- Doesn’t last as long: Quick weaves only last about a month since the bonding glue quickly wears off.
- Shedding: Hair used for quick weaves is more likely to shed since you’re going to cut tracks or hair wefts to fit around your wig cap.
- Use of hair glue, gel, and modeling products: If you choose to slick back your hair instead of braiding it, you risk damaging and drying out your hair.
- Hair loss: The biggest concern with quick weaves is the potential for hair loss and damage. This mainly happens if you get hair glue on your hair during the installation process or if you aren’t using a high-quality wig cap. Poor-quality glue can also damage your hair if they come in contact.
What Do I Need To Install a Quick Weave?
A quick weave requires a handful of supplies, some of which you’ll probably already have at home. You can pick up the rest at a beauty supply store. If you’re going to a Pro to get your quick weave installed, call ahead and ask what they provide and if you can bring any of your own supplies. They can also give you tips on the best weave hair to get for your quick weave.
Supplies needed include:
- Hair extensions
- Hair glue
- Protective wig cap
- Glue protector/liquid cap (optional)
- Blow-dryer
- Scissors
- Molding gel (optional)
- Hair ties
- Towel
- Comb
How Do I Install a Quick Weave?
Whether you’re going to a Pro or doing it yourself, you should familiarize yourself with the steps to install a quick weave so you know what to expect. Check them out below.
- Prep your natural hair. Before you start, braid your hair or use molding gel to keep it under the wig cap. You can leave in a side or center part if you’d like to show that off through your weave.
- Cover your hair with your protective wig cap. After your hair is prepped, secure your hair with a wig cap to keep it safe from the glue. Use two wig caps if you’d like some extra security. You can also add a liquid cap to your hair if you apply glue protector. This will ensure that any rogue glue attaches to the cap instead of your hair. You can also apply the glue protector to your wig cap.
- Mark your leave out. If you left out a part of your hair, mark that area on your wig cap so you don’t add hair extensions too close to it.
- Dry your hair. Blow-dry or air-dry your hair if you used molding gel or glue protector on your hair or wig cap. Everything should be completely dry before installing your quick weave.
- Glue on the hair extensions. The next step is to glue the hair extensions to the wig cap. First, measure the hair extensions around your head to see where you’ll need to cut them. Then, start applying them from the back of your head and work your way in. Allow each section to dry before applying a new track. Once you get close to your leave out, cut that part of the wig cap to let it out.
- Comb and style your hair. Now that everything is in place, you’re ready to style, cut, and comb through your hair to get your look.

How Long Does a Quick Weave Last?
Quick weaves last about four to five weeks. Shedding is a sign that it’s time to take out your quick weave. To ensure it lasts as long as possible, sleep with a silk scarf at night to protect it while you sleep. You can pin it back or use rollers to preserve curls in a curly weave. You should also avoid oil-based products since oil weakens the glue.
How Do I Remove a Quick Weave?
You can remove a quick weave at home using oil-based products and warm water or by making an appointment with a Pro.
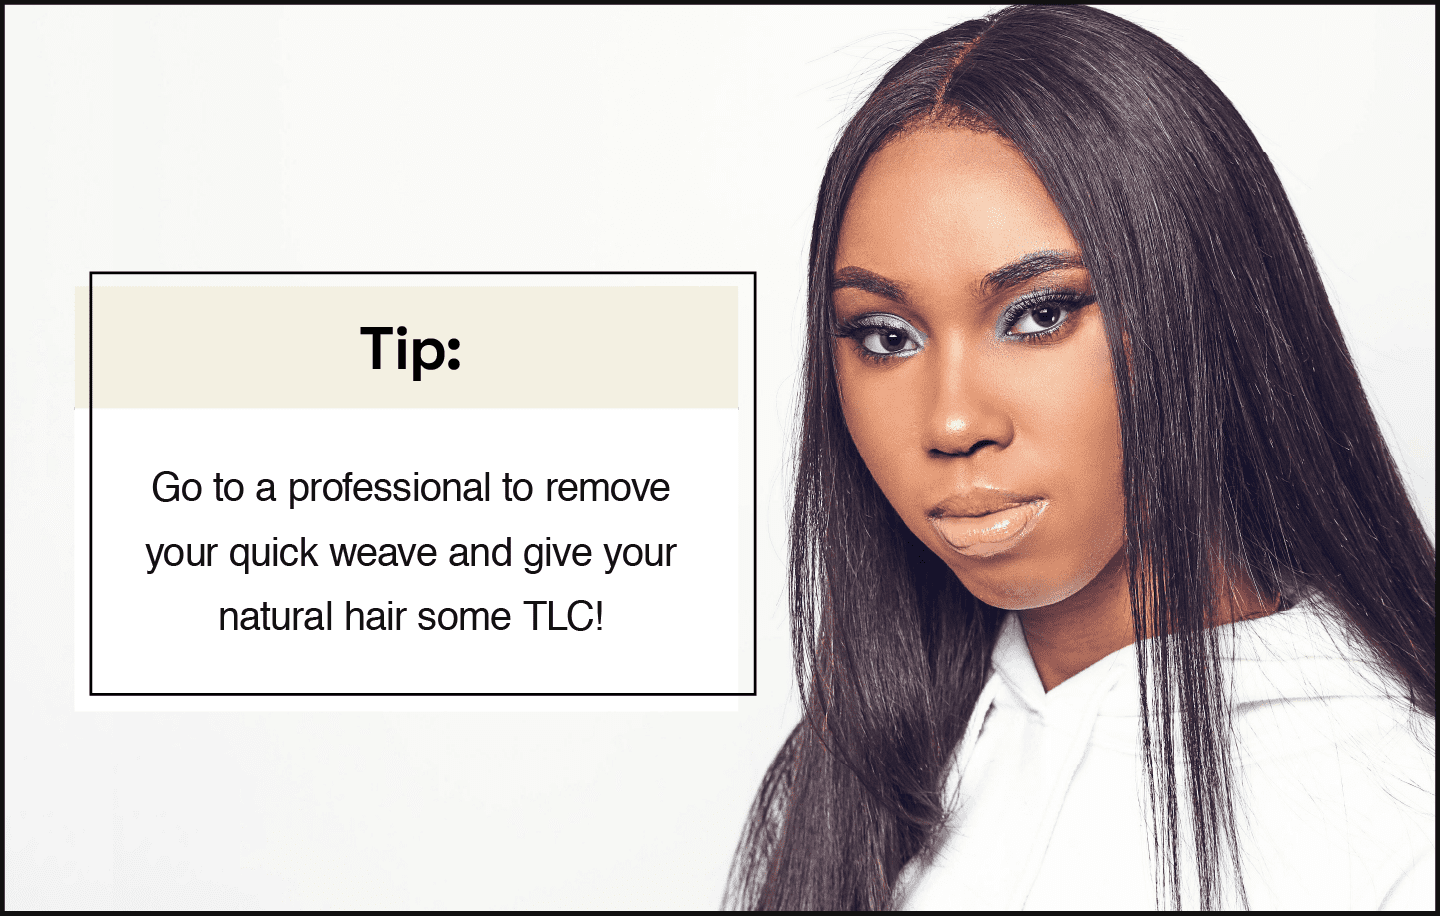
Even if you installed a quick weave yourself, we recommend going to a Pro for removal and for post-quick weave care. They’ll have everything you need to safely remove the quick weave and nourish your natural hair afterward. They’ll also be around to answer questions and can help in the case something goes wrong when you’re removing it.
If you’d like to remove it at home, you’ll need to take your time with each step to avoid pulling out your hair. However, removing a quick weave should be easy if it was properly installed.
Here’s how to remove your quick weave at home:
- Clip your leave out so it’s out of the way.
- Add an oil-based hair product to your hair to loosen the glue. You can use your regular shampoo or pick up a special glue-removing shampoo or conditioner. Leave the product in your hair for a few minutes.
- Run your hair under warm water. Let the water run down the edges of your wig cap to help loosen the glue.
- Start removing your wig cap. After that, put your fingers under the wig cap and slowly start removing it. It should easily slide off if it was properly installed.
- Massage your hair product in the area around your leave out. Your quick weave may get a little stuck around your leave out. Massage hair product around that area to loosen the glue and continue running it through warm water. Take your time here! You might pull out some hair if you rush.
- Pull off the wig cap. At this point, you should be able to take the wig cap fully off your head.
- Undo any braids and start washing out excess glue. Use a deep cleansing shampoo to clarify your hair and get rid of excess glue and product. Follow up with some deep conditioning to nourish your hair.
Frequently Asked Questions About Quick Weaves
Everything above should answer most questions you have about quick weaves. We’ll tackle a few more questions below.
Are Quick Weaves Damaging to Hair?
Quick weaves are damaging to hair if they are improperly installed. Hair glue is your biggest enemy. With the right products and a careful hand, you can keep the hair glue out of your hair. The best way to avoid damage is by going to a Pro for installation and removal.
Can You Get a Quick Weave Wet?
Yes, you can get your quick weave wet. Avoid using oil-based shampoo since the oil can loosen the glue. When you’re in the shower, gently work shampoo through sections of your hair and rinse it in sections. Don’t scrub or scratch at your scalp to avoid loosening the tracks. When you’re done, wring out your hair as much as you can in the shower and blow-dry once you’re out.
Washing your quick weave is possible, but you may want to think twice before swimming! The chemicals in pools and salt in the ocean can weaken your hair glue.
What’s the Difference Between a Sew-In and a Quick Weave?
Quick weaves are bonded to a wig cap while a sew-in is sewn into the hair. Sew-ins last longer than quick weaves, but take longer to install and typically cost more.
Compared to quick weaves, sew-ins also add more tension to your head since you need to tightly cornrow your hair. However, sew-ins are more secure because of this installation method.
Quick weaves are a great option if you want a style that looks polished, is quick to install, and easy to remove. Getting help from a Pro can help you avoid common mistakes and hair disasters. Pros can also give you style and maintenance tips to make sure you’re always looking your best! Check for a Pro in your area so you can see if a quick weave is a good choice for you.


Related articles