Polygel Nails: A Guide to Your New Favorite Manicure
Can’t decide between acrylics and gel nails? Both are beautiful options with distinct application processes and benefits. But if you want it all — durability, styling options, and versatility — polygel nails have you (and your fingernails) covered.
This new option is changing the game by delivering nail enhancements that are strong without being heavy. Plus, they let you ditch monomers, awful-smelling substances, and harmful chemicals. Learn more about the wonders of polygel nails below and schedule a mani with your local nail artist to see the benefits firsthand.
What are polygel nails?
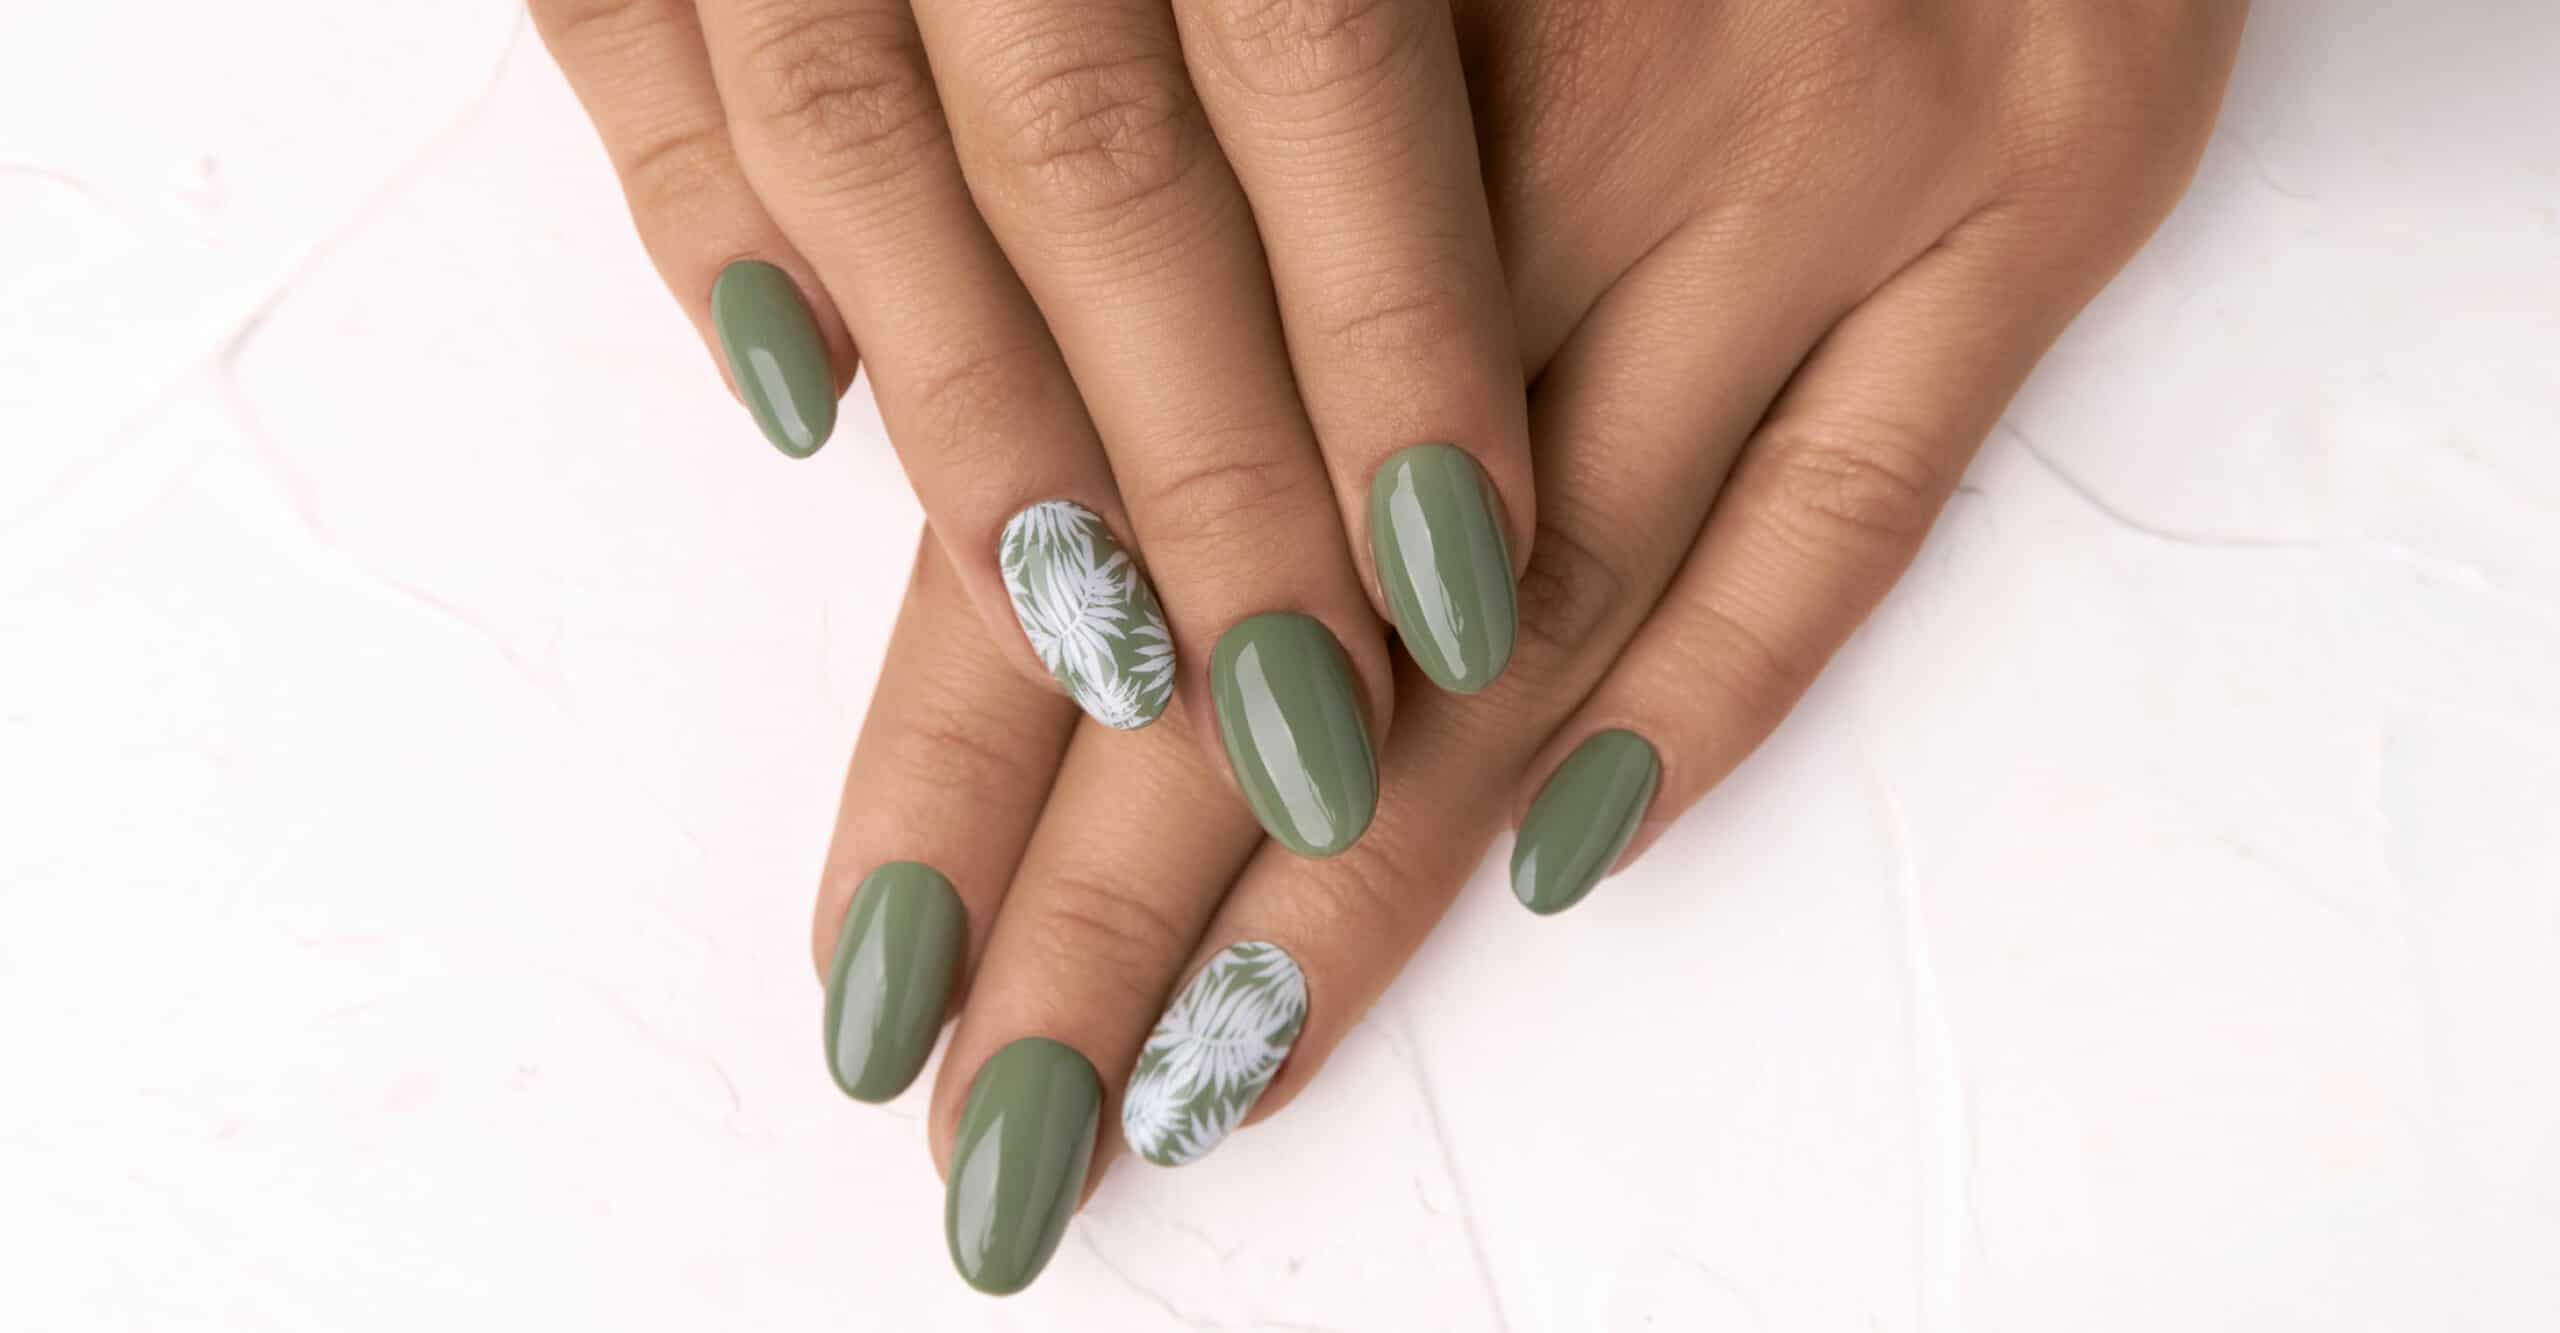
Polygel nails are a hybrid nail product that’s like a cross between acrylic and traditional gel nails. It’s essentially a gel-like formula that doesn’t feel heavy on your hands. With polygel nails, you don’t have to choose between strength and versatility. Created by Gelish from a formulation of acrylic powder and clear gel, these nails are moldable and can be shaped to create the perfect look.
Nail techs can apply polygel as an overlay and can sculpt them to make a full set of custom nails. Available in a wide range of shades, polygel colors can also be combined or mixed with gel polish to achieve the perfect tone. Once the color, design, and shape are in place, your tech will cure your set with a UV or LED light.
What materials are needed for applying polygel nails?
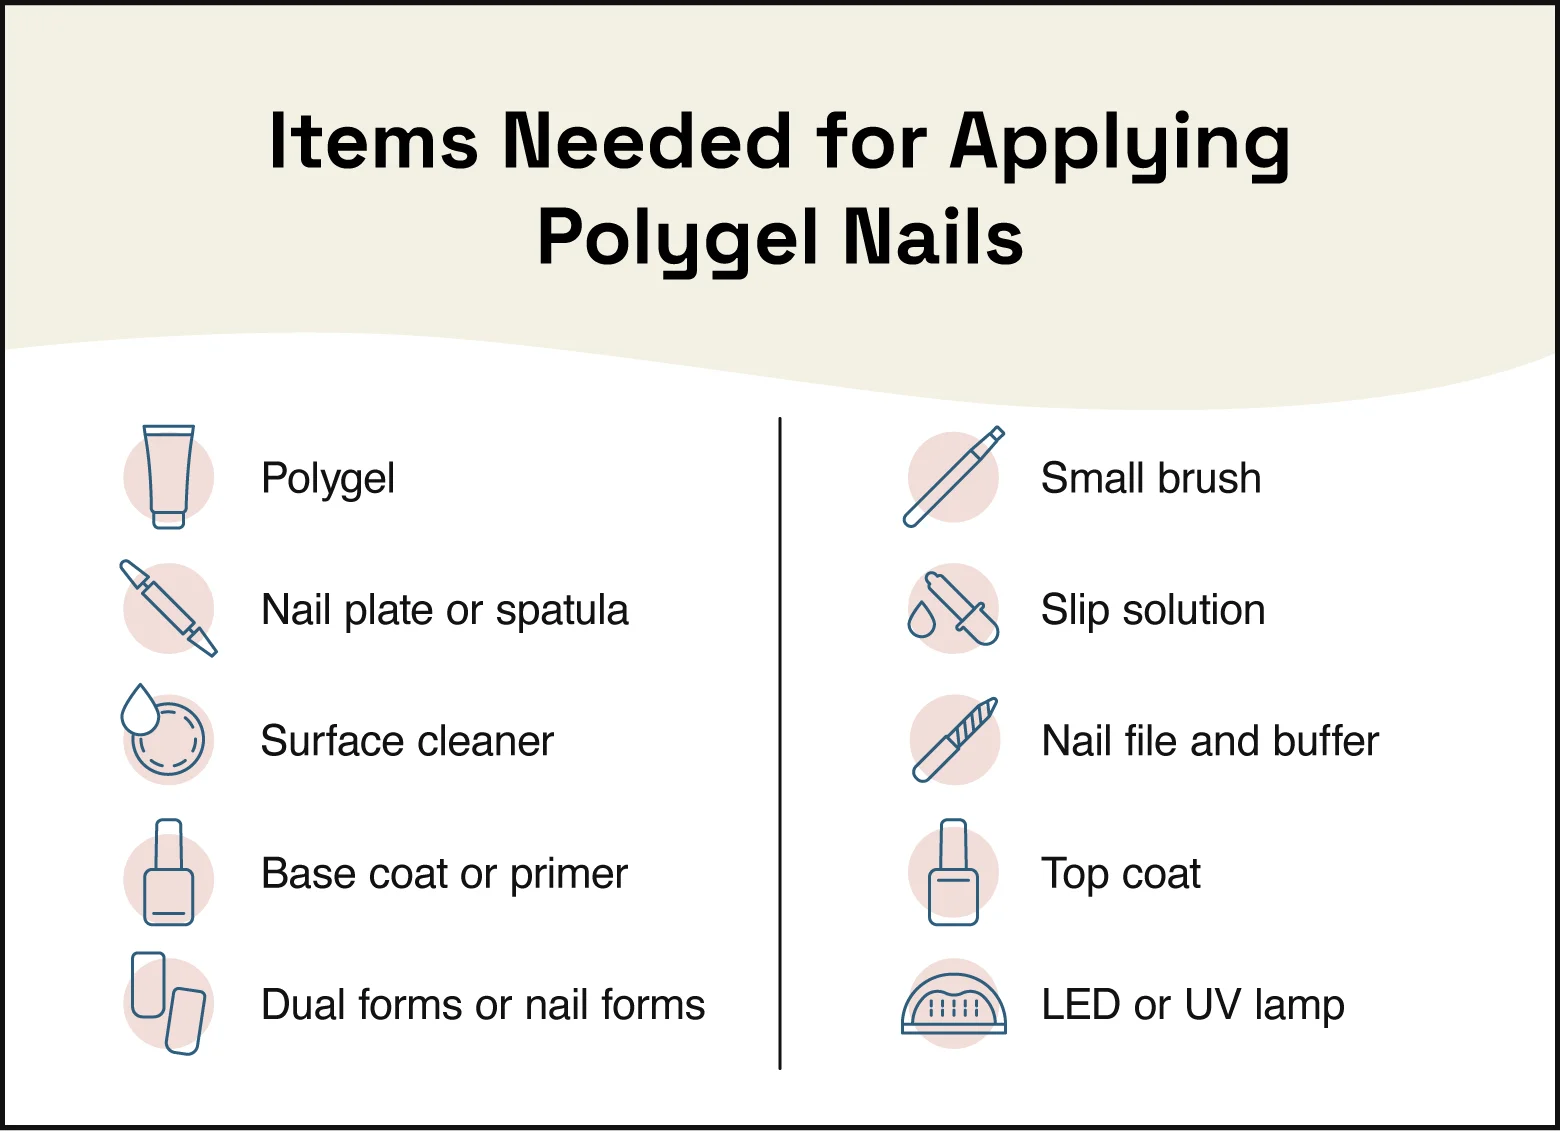
Polygel is specially formulated and requires no complicated measuring, potentially hazardous chemicals, or hard-to-find materials. Here’s what a nail tech will use to apply a set of polygel nails:
- Polygel: comes in a range of shades; one tube is more than enough for a set, but they can also be combined for custom designs and hues
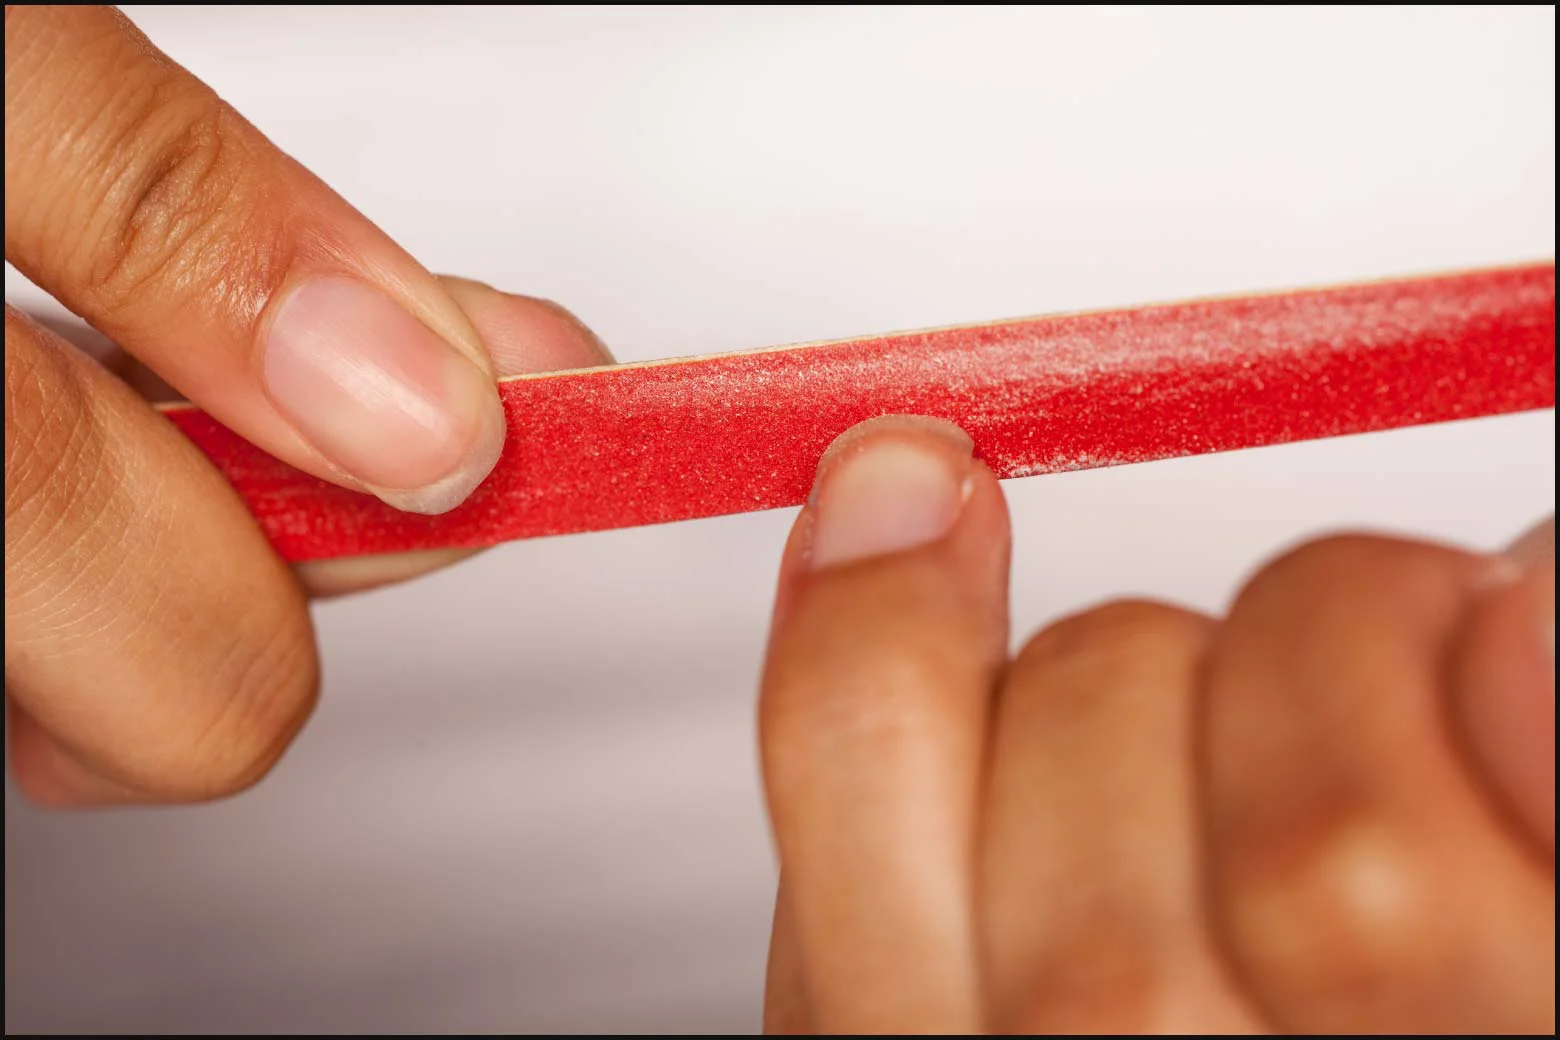
- Nail file, buffer, and surface cleaner: helps prepare the cuticle, smooth and prep the nail, and shape the polygel after the first curing
- Dual forms or nail forms: forms the polygel to your desired nail shape and length
- Spatula or nail plate: helps distribute the right amount of polygel onto each nail
- Small brush: smooths the formula and spreads it over a form or into the desired shape
- Slip solution: keeps the polygel from sticking to the application brush
- Base coat, primer, and top coat: seals in the polygel and gives a matte or glossy effect
- LED lights or UV lamps: cures the nails at two different points — before they’re shaped and after they’re finished
Although we recommend having nail enhancements installed by a professional, polygel nails can be installed at home as well. If you’ve done at-home manis in the past, then you probably have most of these items already. Once you’ve got everything you need in place, you’ll be ready to install your polygel nails at home.
How do you apply polygel nails?
To apply polygel nails, you’ll need to prep your natural nails, place and shape the polygel, and cure it under an LED or UV light. Though this nail enhancement might be easier to DIY at home than acrylics, we recommend seeing an experienced nail tech for a gorgeous custom look. When you get your manicure done by a knowledgeable nail tech, you’re less likely to experience breakage or damage to your natural nails. Your manicurist can even give you expert tips for maintenance and at-home manis.
Whether you decide to apply the polygel yourself or see a nail tech, there are several common application techniques to consider. These are typically booked differently, so it’s important to know which service you’re looking for.
Full polygel set
With a full set, the polygel will be overlayed on top of your natural nails. Since polygel doesn’t harden until it’s cured, your tech will have plenty of time to sculpt and get the nails just right before curing. No matter what type of manicure you choose, here are the polygel nail instructions your nail tech will follow:
- Your tech will start by prepping your nails and cuticles.
- Then they’ll apply a dehydrator or base coat and cure it.
- Next, the tech will start applying and shaping the polygel.
- Once you’re happy with the shape, it’s cured again for around one minute.
- After they’ve been cured, the nails will be more finely shaped and cleaned before the top coat is applied.
- With the top coat in place, the polygel nails are cured one more time and then wiped clean.
The process is fairly similar to acrylic and gel nail installation. But with a full polygel set, you can expect an unparalleled balance of customization and durability.
Polygel extensions
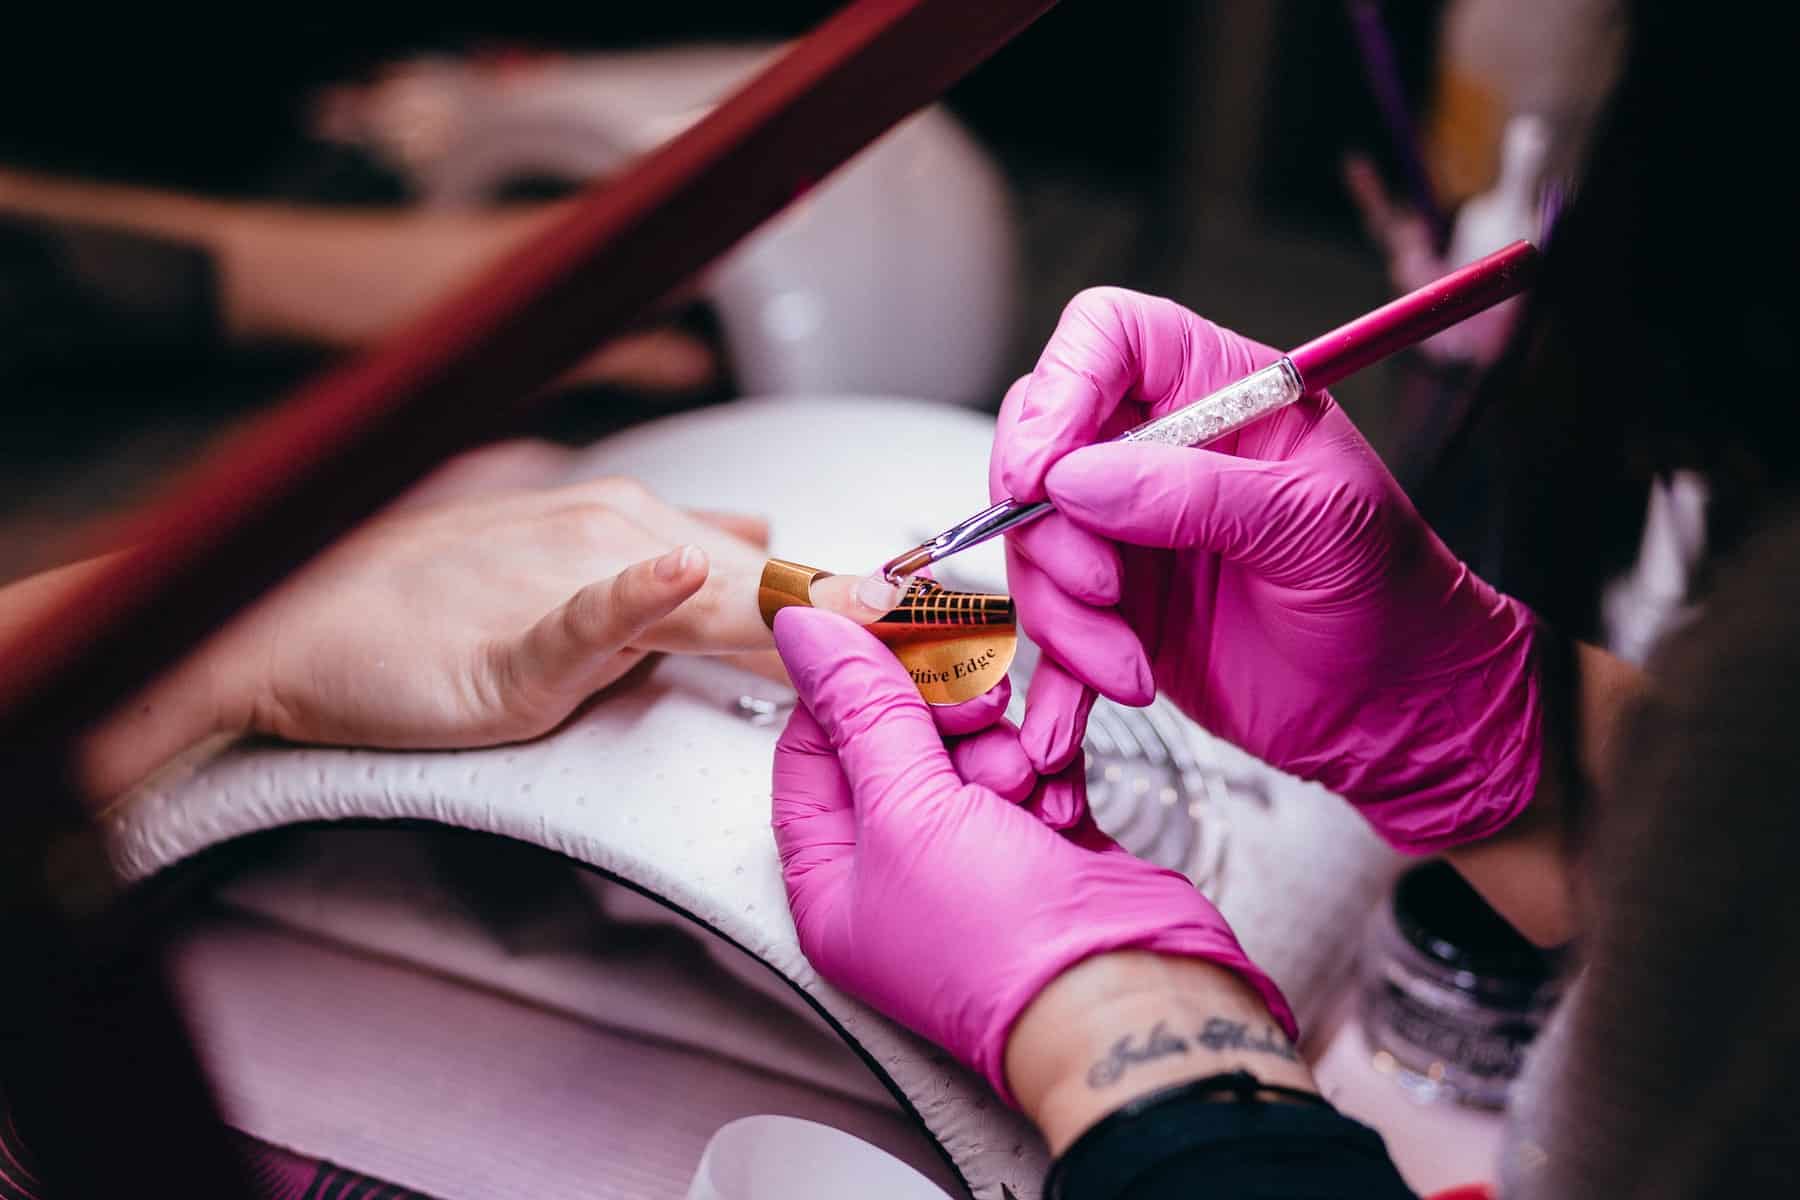
Polygel is also a great option for nail extensions. Your tech will use a nail form so they can make your nail longer and sculpt it into just the right shape and length prior to curing. The rest of the nail prep and finishing process will be identical to the full set process listed above.
Fills
If you’ve had an acrylic fill, then you have a good idea of what a polygel fill will be. Your tech will file down the existing polygel nail and then fill in the gap around your cuticles. They’ll then do some final sculpting and curing for a polished finish. You can repeat this process every few weeks as needed until your nail artist advises a new set. This is more of a nail maintenance service for people who regularly get polygel nail sets.
How much do polygel nails cost?
Polygel nails can cost between $60 and $150 for a full set. Fills tend to run between $45 and $80. The price range will vary depending on the salon’s reputation, the tech’s experience, the complexity of the design, the services you get, and your location. Don’t forget to also tip your nail tech around 20 percent for the service!
Polygel vs. acrylic vs. gel nails
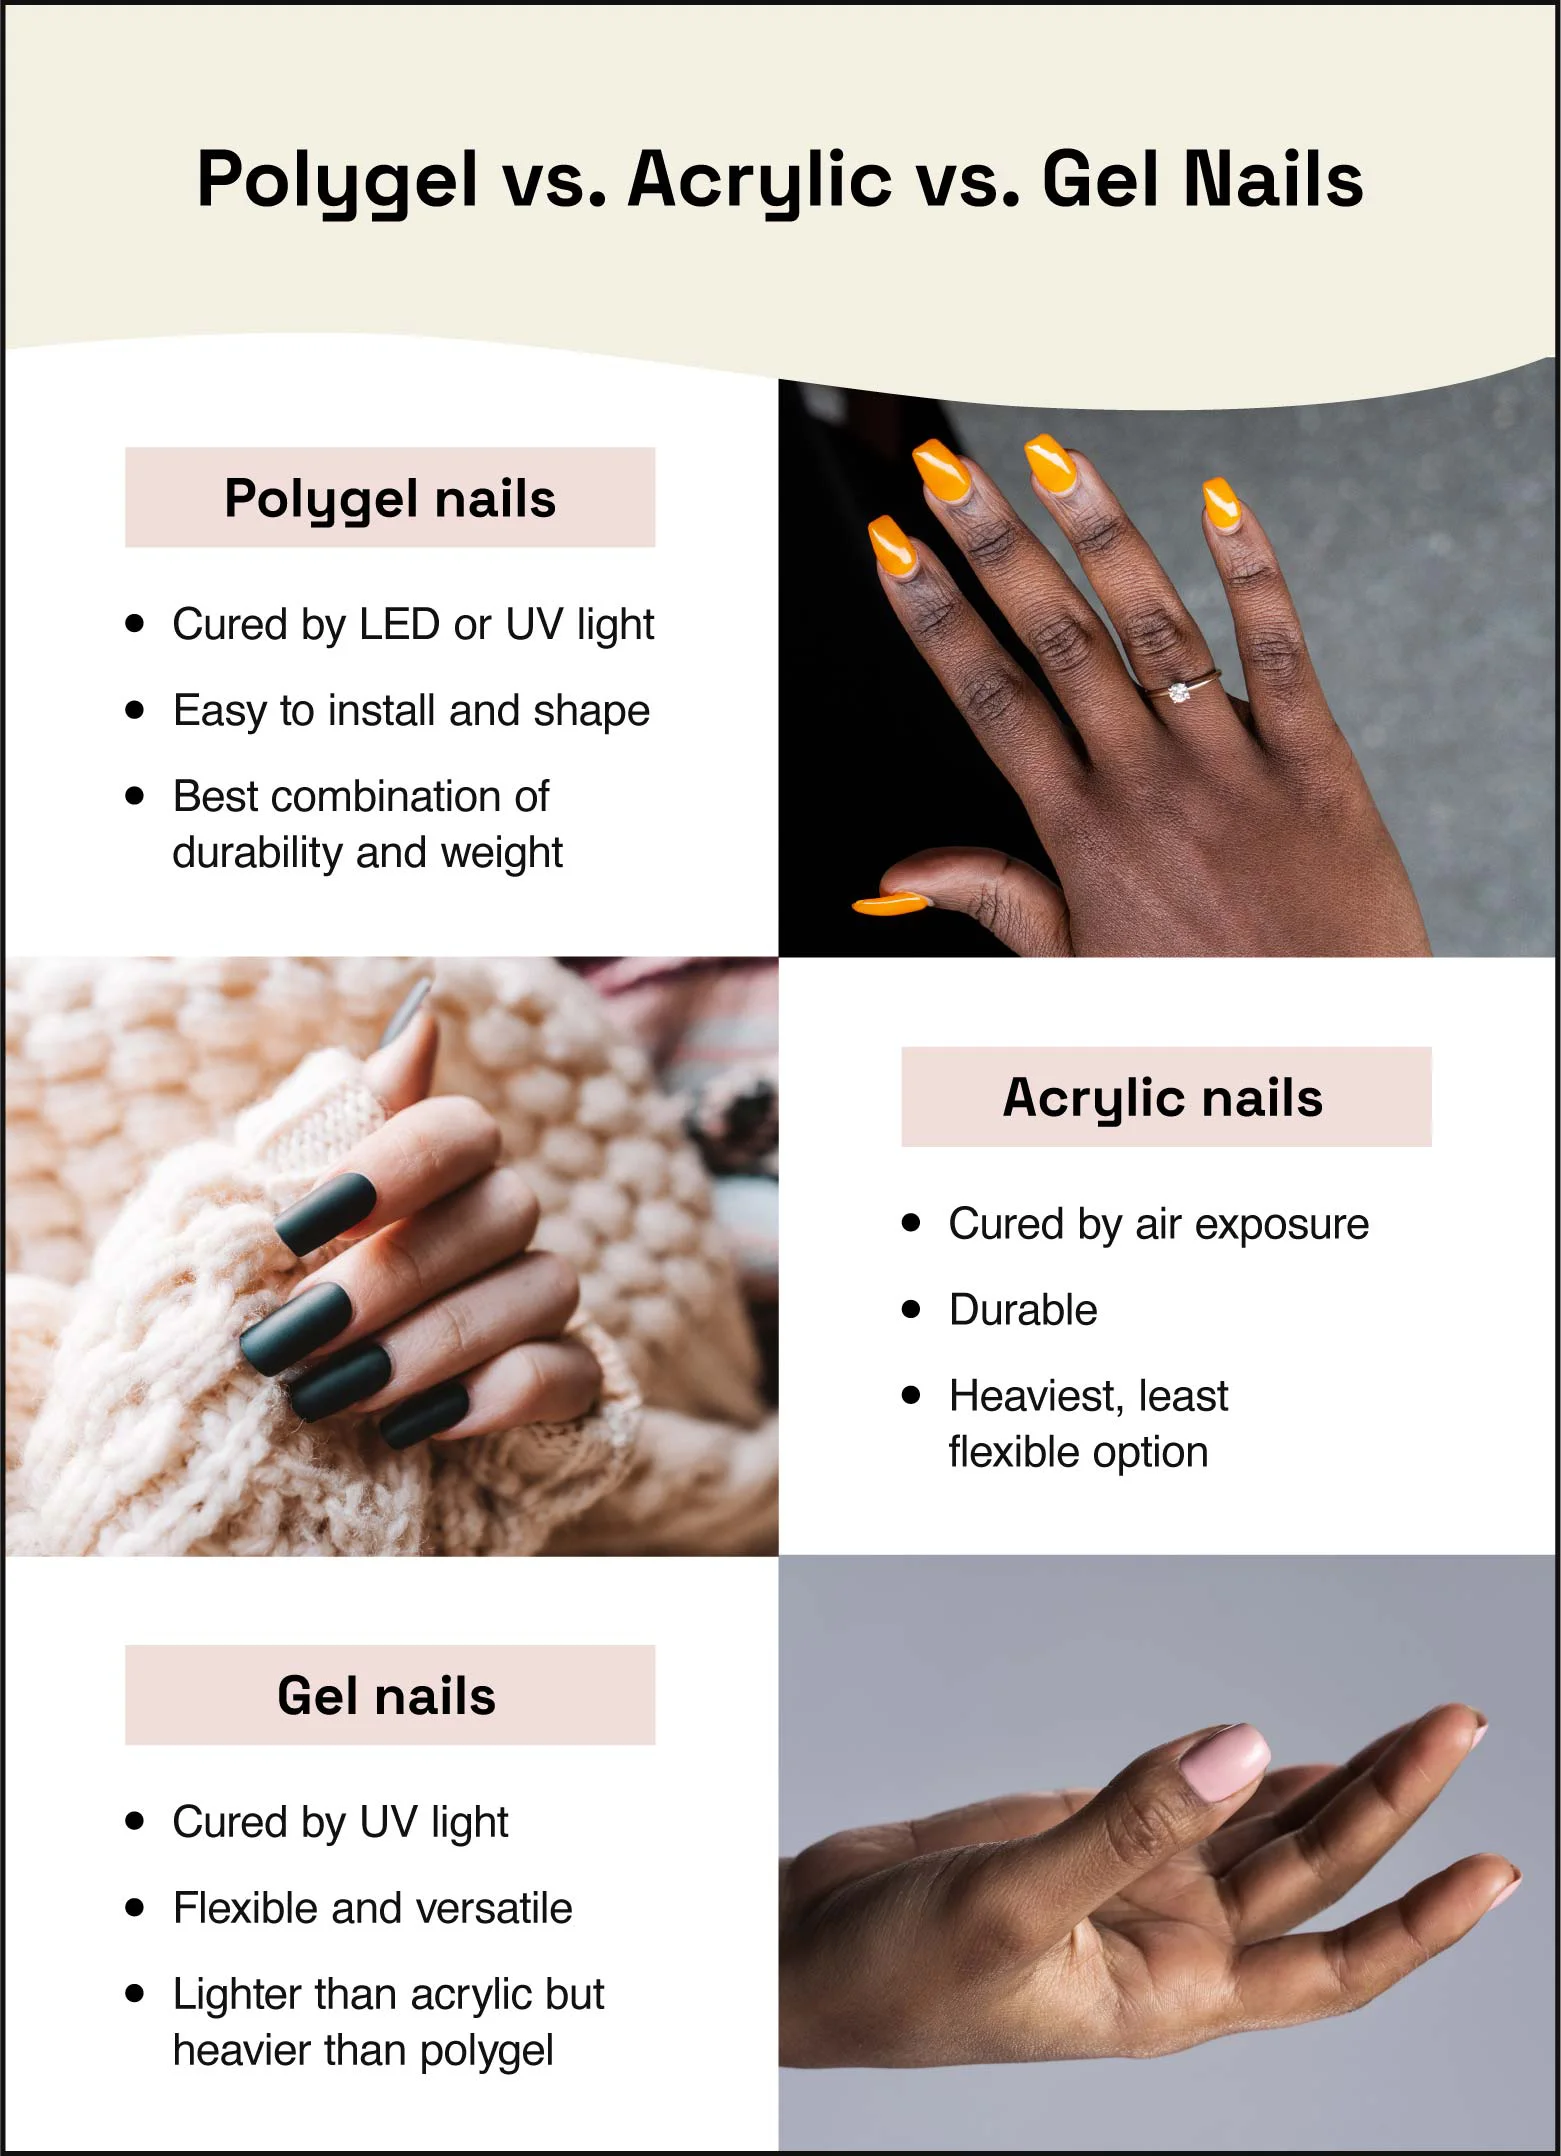
Is polygel better than acrylic or gel? If you’re new to nail enhancements, you may not be aware of the differences between these three options. That’s OK! They can all be used similarly for fills, overlays, and extensions. They can also be sculpted and designed for styles ranging from a classic French manicure to a dazzling, one-of-a-kind work of art. Here’s what sets each of them apart:
- Polygel nails: These are best for a combination of strength, weight, ease of application, and versatility. They require no monomers or harsh chemicals and are cured by UV or LED lights.
- Acrylic nails: These are renowned for their strength, but they’re also the heaviest of the three options. Acrylics are made from an acrylic powder called a monomer, which is known to release a “dust” with a strong scent.
- Gel nails: These are the thinnest of the three options and aren’t quite as light as polygel nails. They’re more malleable than acrylic nails, but not quite as sturdy. However, you can use gel to create gel extensions.
How long do polygel nails last?
Polygel nails can last up to four weeks before they need a fill, depending on their length and how well you care for them. When applied properly, polygel nails are exceptionally strong.
If they do break, you may be able to fix them yourself. However, it’s always safer to return to your nail tech. And here’s a pro tip: By choosing natural colors for your enhancements, your regrowth will look more subtle between fills.
Can you do polygel nails at home?
There are many options for at-home polygel nail kits to try, but we don’t recommend trying to do them yourself. It seems simple enough, but if you don’t follow the directions exactly then you can cause long-term issues for your nails and hands.
The biggest risk to at-home polygel nails is developing a gel allergy, which is a direct result of exposure to uncured gel. If you don’t cure your polygel nails enough or leave gel on your skin for too long, you may develop a reaction to the gel which can include severe rashes. Unfortunately, once you develop this allergy, there’s no option for treating it other than skipping gel manicures.
Nail techs are trained to properly remove uncured gel from your skin and have the right tools to keep this from happening. The risk is higher with at-home kits because of inconsistencies with the wattage of your curing lamp or how thick you might apply the product.
Can you put polygel over fake nails?
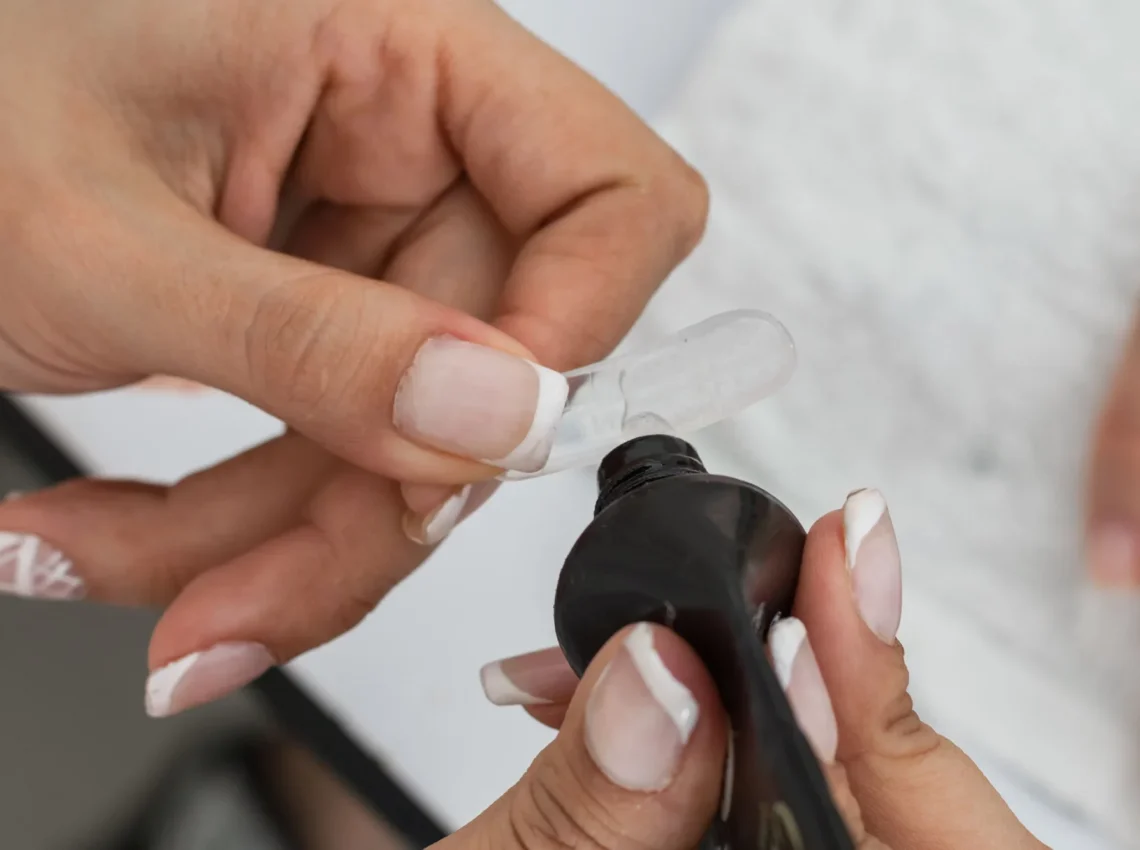
You can use polygel with fake nails, but there are a couple of factors to keep in mind. If you’d like to use polygel as a nail glue alternative, your fake nails must be completely clear so that the gel underneath can cure properly. If you’d like to use polygel on top of fake nails, then you can simply do your manicure on top of the fake nail as you would normally.
How can I remove polygel nails?
Polygel can be removed by a combination of soaking and filing. We don’t recommend removing polygel at home because it’s very easy to file down too far and damage your natural nail. To prevent damage, your nail tech will:
- Gently file off the outermost gel layer
- Use cotton, nail clips, and acetone to soak the polygel
- Remove the softened polygel and buff down to the natural nail
- E-file the length as much as possible
After having your polygel nails removed, remember to apply some cuticle oil, follow care recommendations from a dermatologist, and give your nails a little TLC. Try to give them some time to recover before having a new set installed.
Does polygel ruin your nails?
Polygel shouldn’t damage your nails if it’s applied and removed properly by a nail tech. This is especially true if you practice proper upkeep between manis. If you’re sensitive to harsh chemicals, polygel may be even safer than gel and acrylic due to its simple, monomer-free application process.
Most cases of damage come from people not following necessary precautions during DIY jobs. Since this is a relatively new technique, it may be hard to find nail techs with experience using polygel. Check reviews before you go to a salon to make sure past clients have had good experiences first.
Why do my polygel nails pop off?
Your polygel nails may have popped off due to bending, insufficient drying, excessive application, or improper installation. Polygel is very strong and should stay in place for weeks, so the problem either stems from application issues, post-install damage, or both.
When you’re ready for a mani, count on polygel nails for a durable, versatile alternative to gel and acrylic nails. For any type of nail enhancement, we always recommend finding an experienced local manicurist to ensure safe, long-lasting installation and eye-catching results. They’ll also be able to advise you on proper upkeep so you can keep your nails looking fresh for as long as possible.