We’re not going to tell you that spa days are overrated because — let’s be real — they’re definitely not. If you’re in need of a spa facial but your esthetician is fully booked, follow this guide on how to create a spa-like experience for an at-home facial. Then, follow up with your esthetician and book a facial when their schedule clears to keep your skin in top shape.
This list of tips for the perfect at-home facial will transform your space into your personal oasis while you treat your pores to a perfect combination of hydration, relaxation, and rejuvenation.
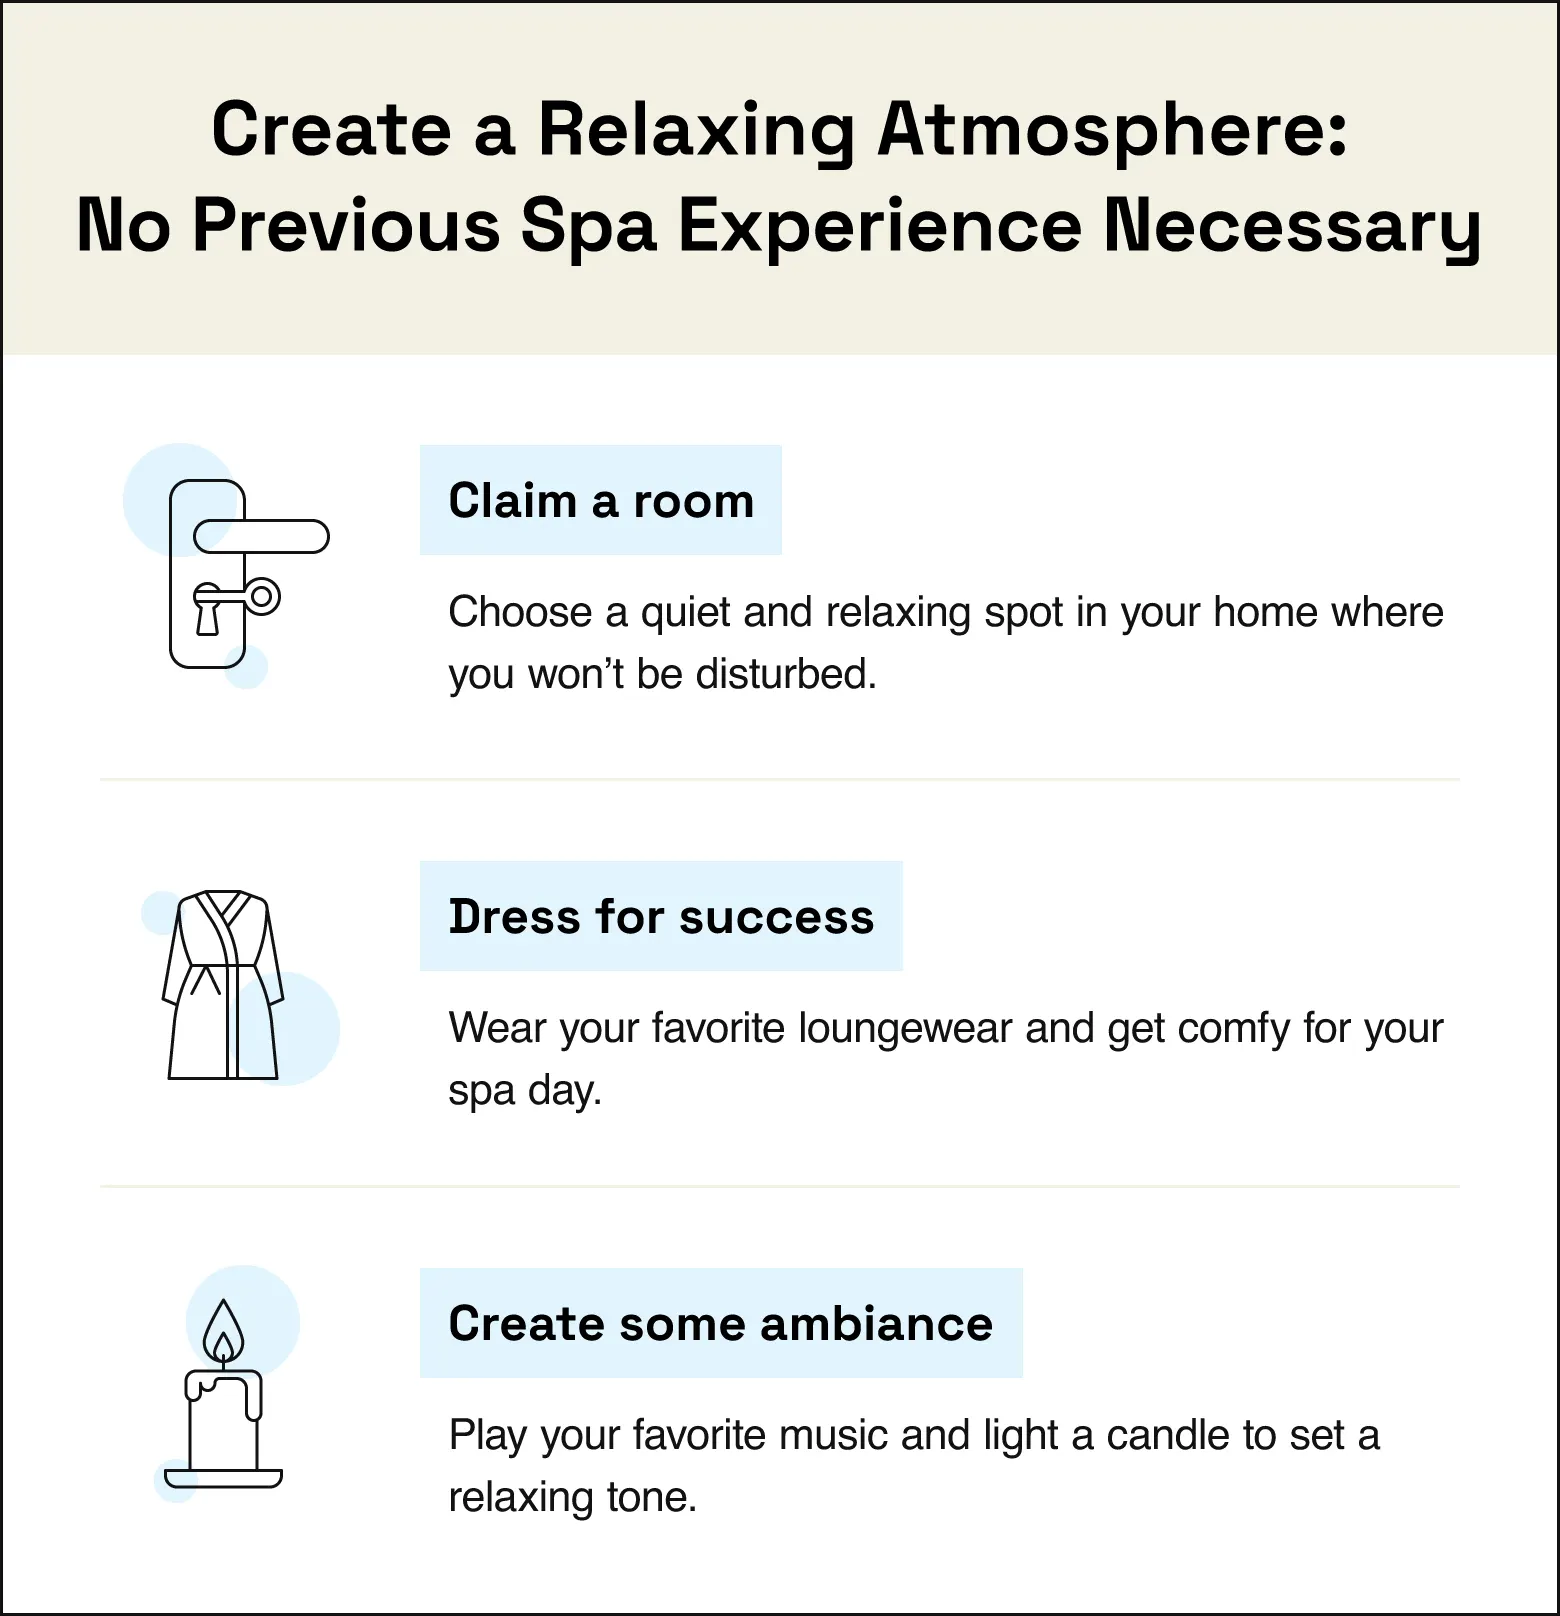
1. Create a relaxing atmosphere
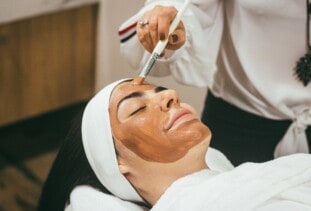
For those who have been to a spa for a facial, you know pampering is part of the deal.
Cucumber water, robes, and diffusers gently wafting a combination of lavender and sage through the air — it’s all just delightful. But if you aren’t necessarily on the hunt for estheticians that specialize in skin treatments, how do you create the full spa experience in your own home? Here are a few helpful tips to really help you set the mood, even if you’ve never been to a spa!
Claim a room
You don’t have to give yourself an at-home spa day in the bathroom! In fact, don’t. Try branching out to the living room or your bedroom. Choose a spot where you’ll be comfortable and relaxed, and politely let everyone else in the house know that it is your sanctuary for the next several hours and you are not to be disturbed.
Dress for success
Grab your most comfortable plush robe, plenty of towels, lots of pillows, some slippers, skin care tools, and maybe even your favorite scrunchie or headband; it’s time to get comfy! Every good at-home spa day starts with getting comfortable.
If you prefer to wear your favorite pair of sweatpants instead of a robe, go for it! If you’re most comfortable in leggings and an oversized T-shirt, you do you! The point is, spas are places of luxurious comfort, and you need to give yourself full permission to get as comfortable as you possibly can.
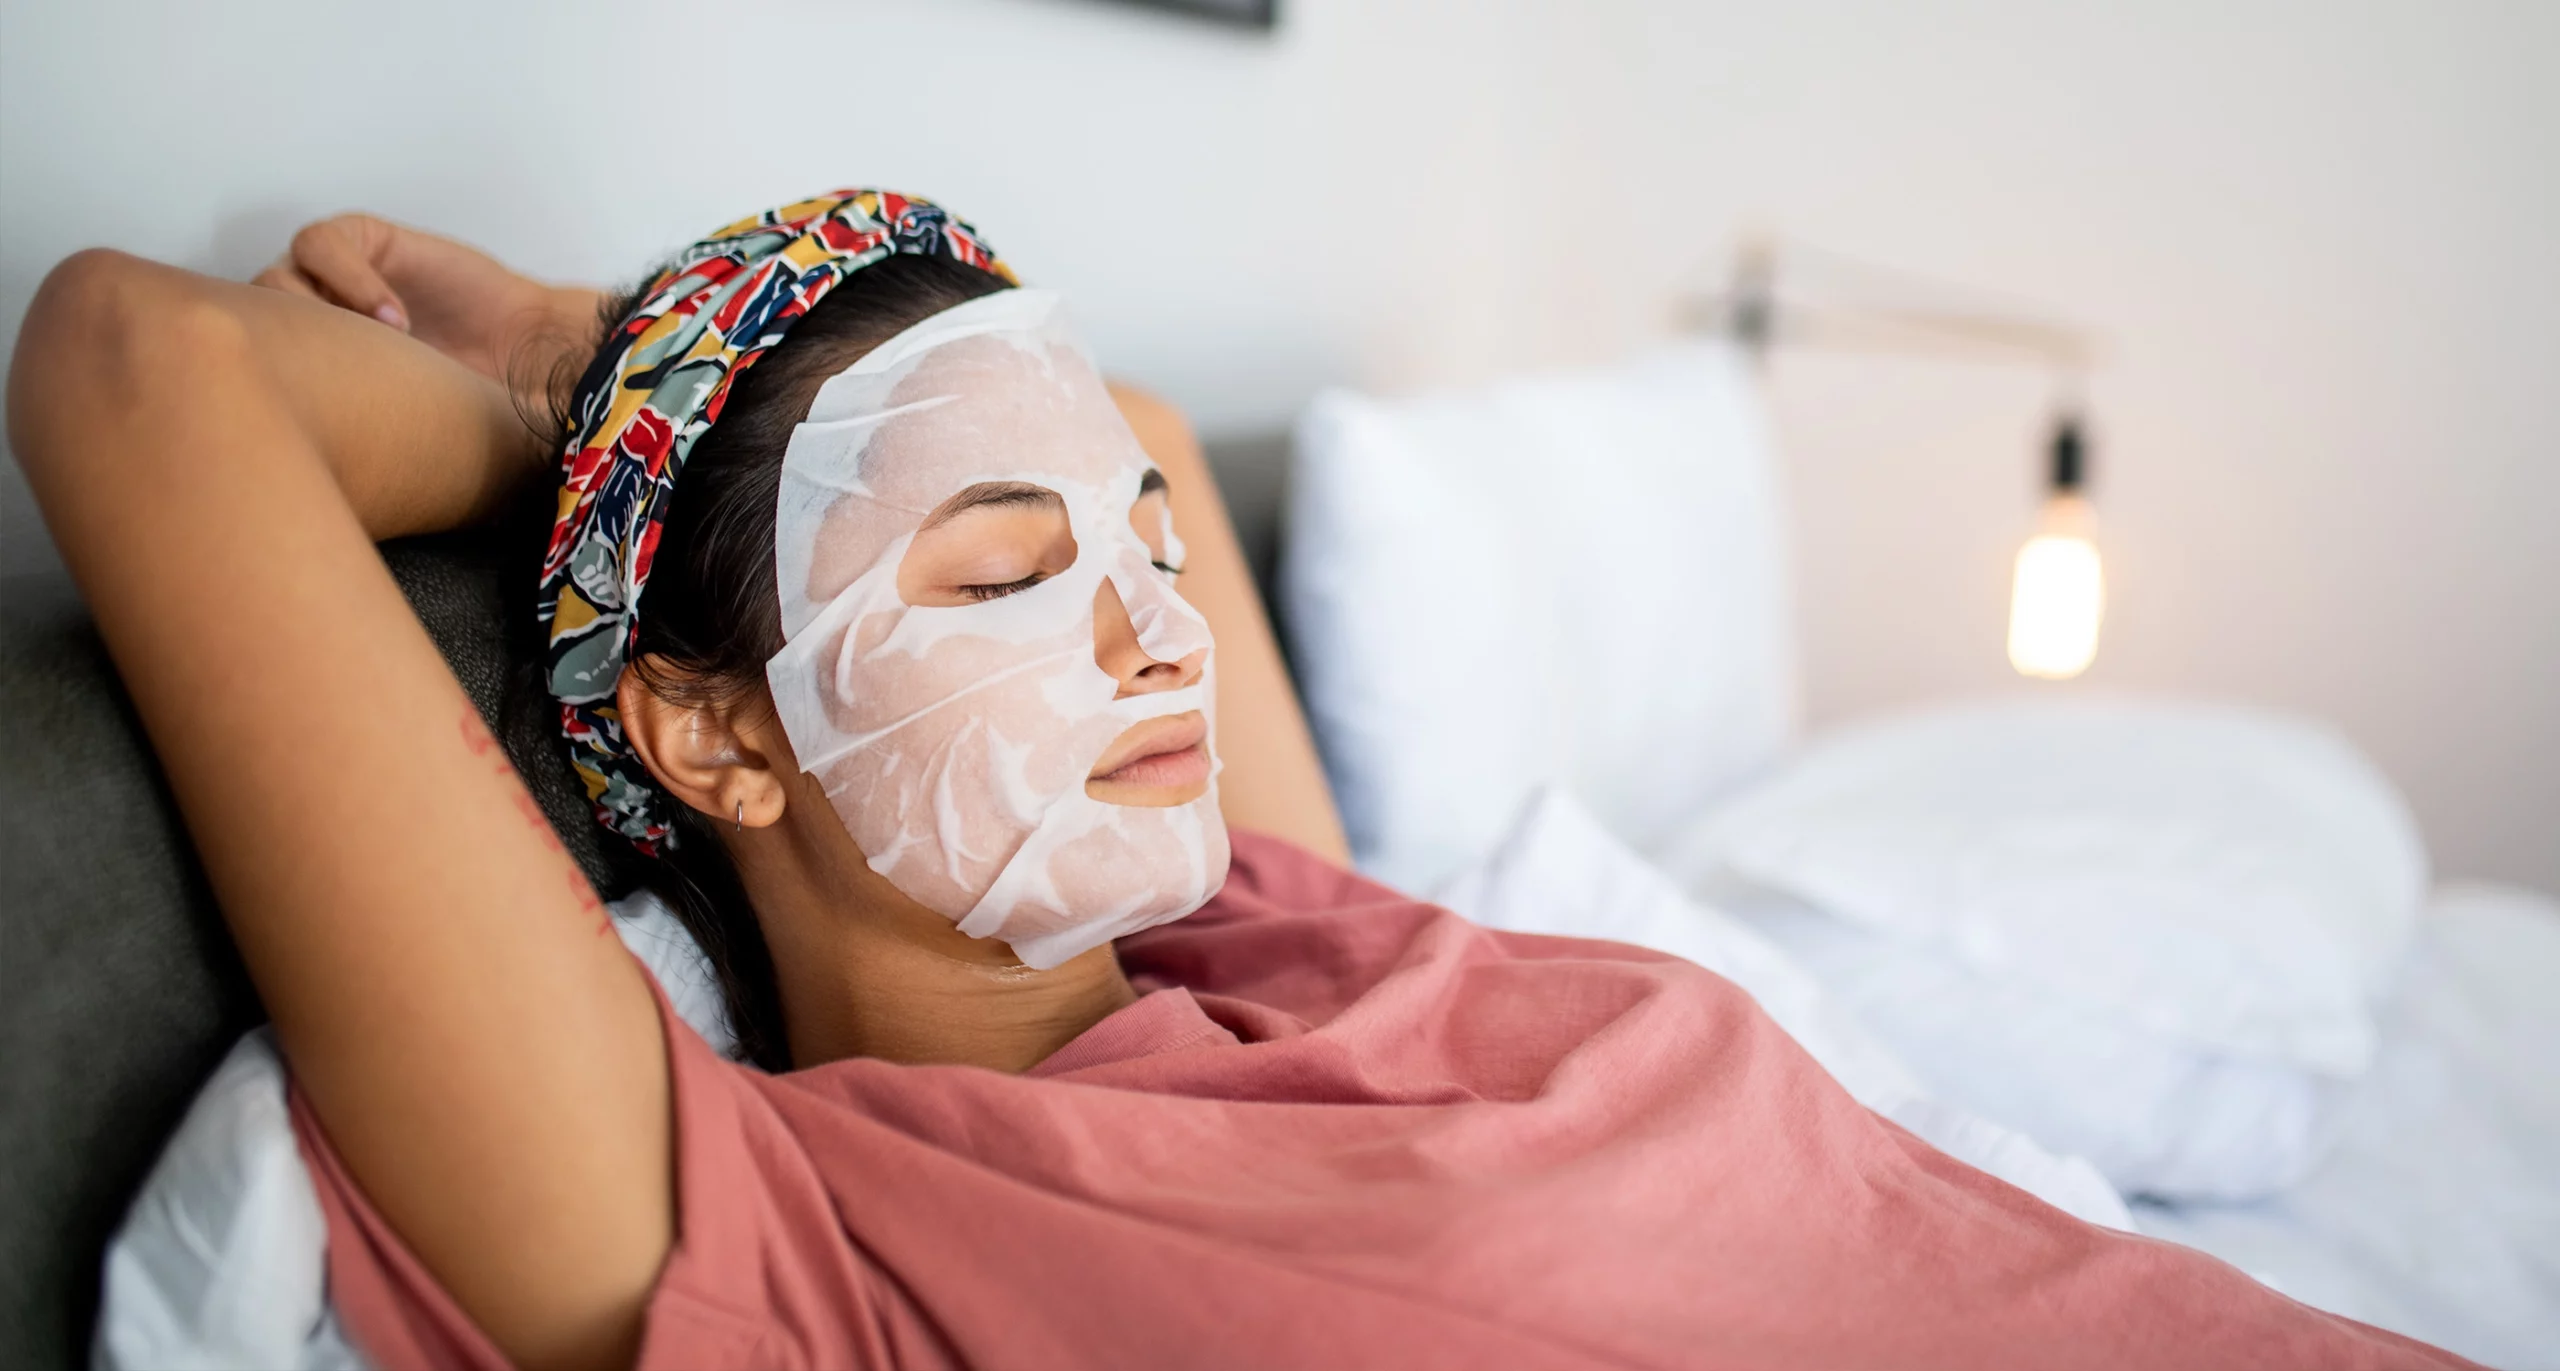
Create some ambiance
If you’ve opted out of searching for where to get a facial and are keeping your spa day at home, you’ll want to make sure to set the tone for your day of relaxation. Here are some things that help with ambiance:
- Candles
- Music
- Beverages
- Pillows
- Snacks
Remember, when it comes to creating the perfect atmosphere, no detail is too small. Throw in some extra pampering with a quick gua sha massage or draw a bath. You are treating yourself to an at-home spa day, and no one knows how you like to be pampered quite like you do. Give yourself permission to get honest about what you really want.
Maybe instead of classical spa music, you want to throw on the best of Bieber. And instead of cucumber water, you want to sip a rosé spritzer and crush a Toblerone bar. Whatever you feel like doing, do it. Your spa, your rules.
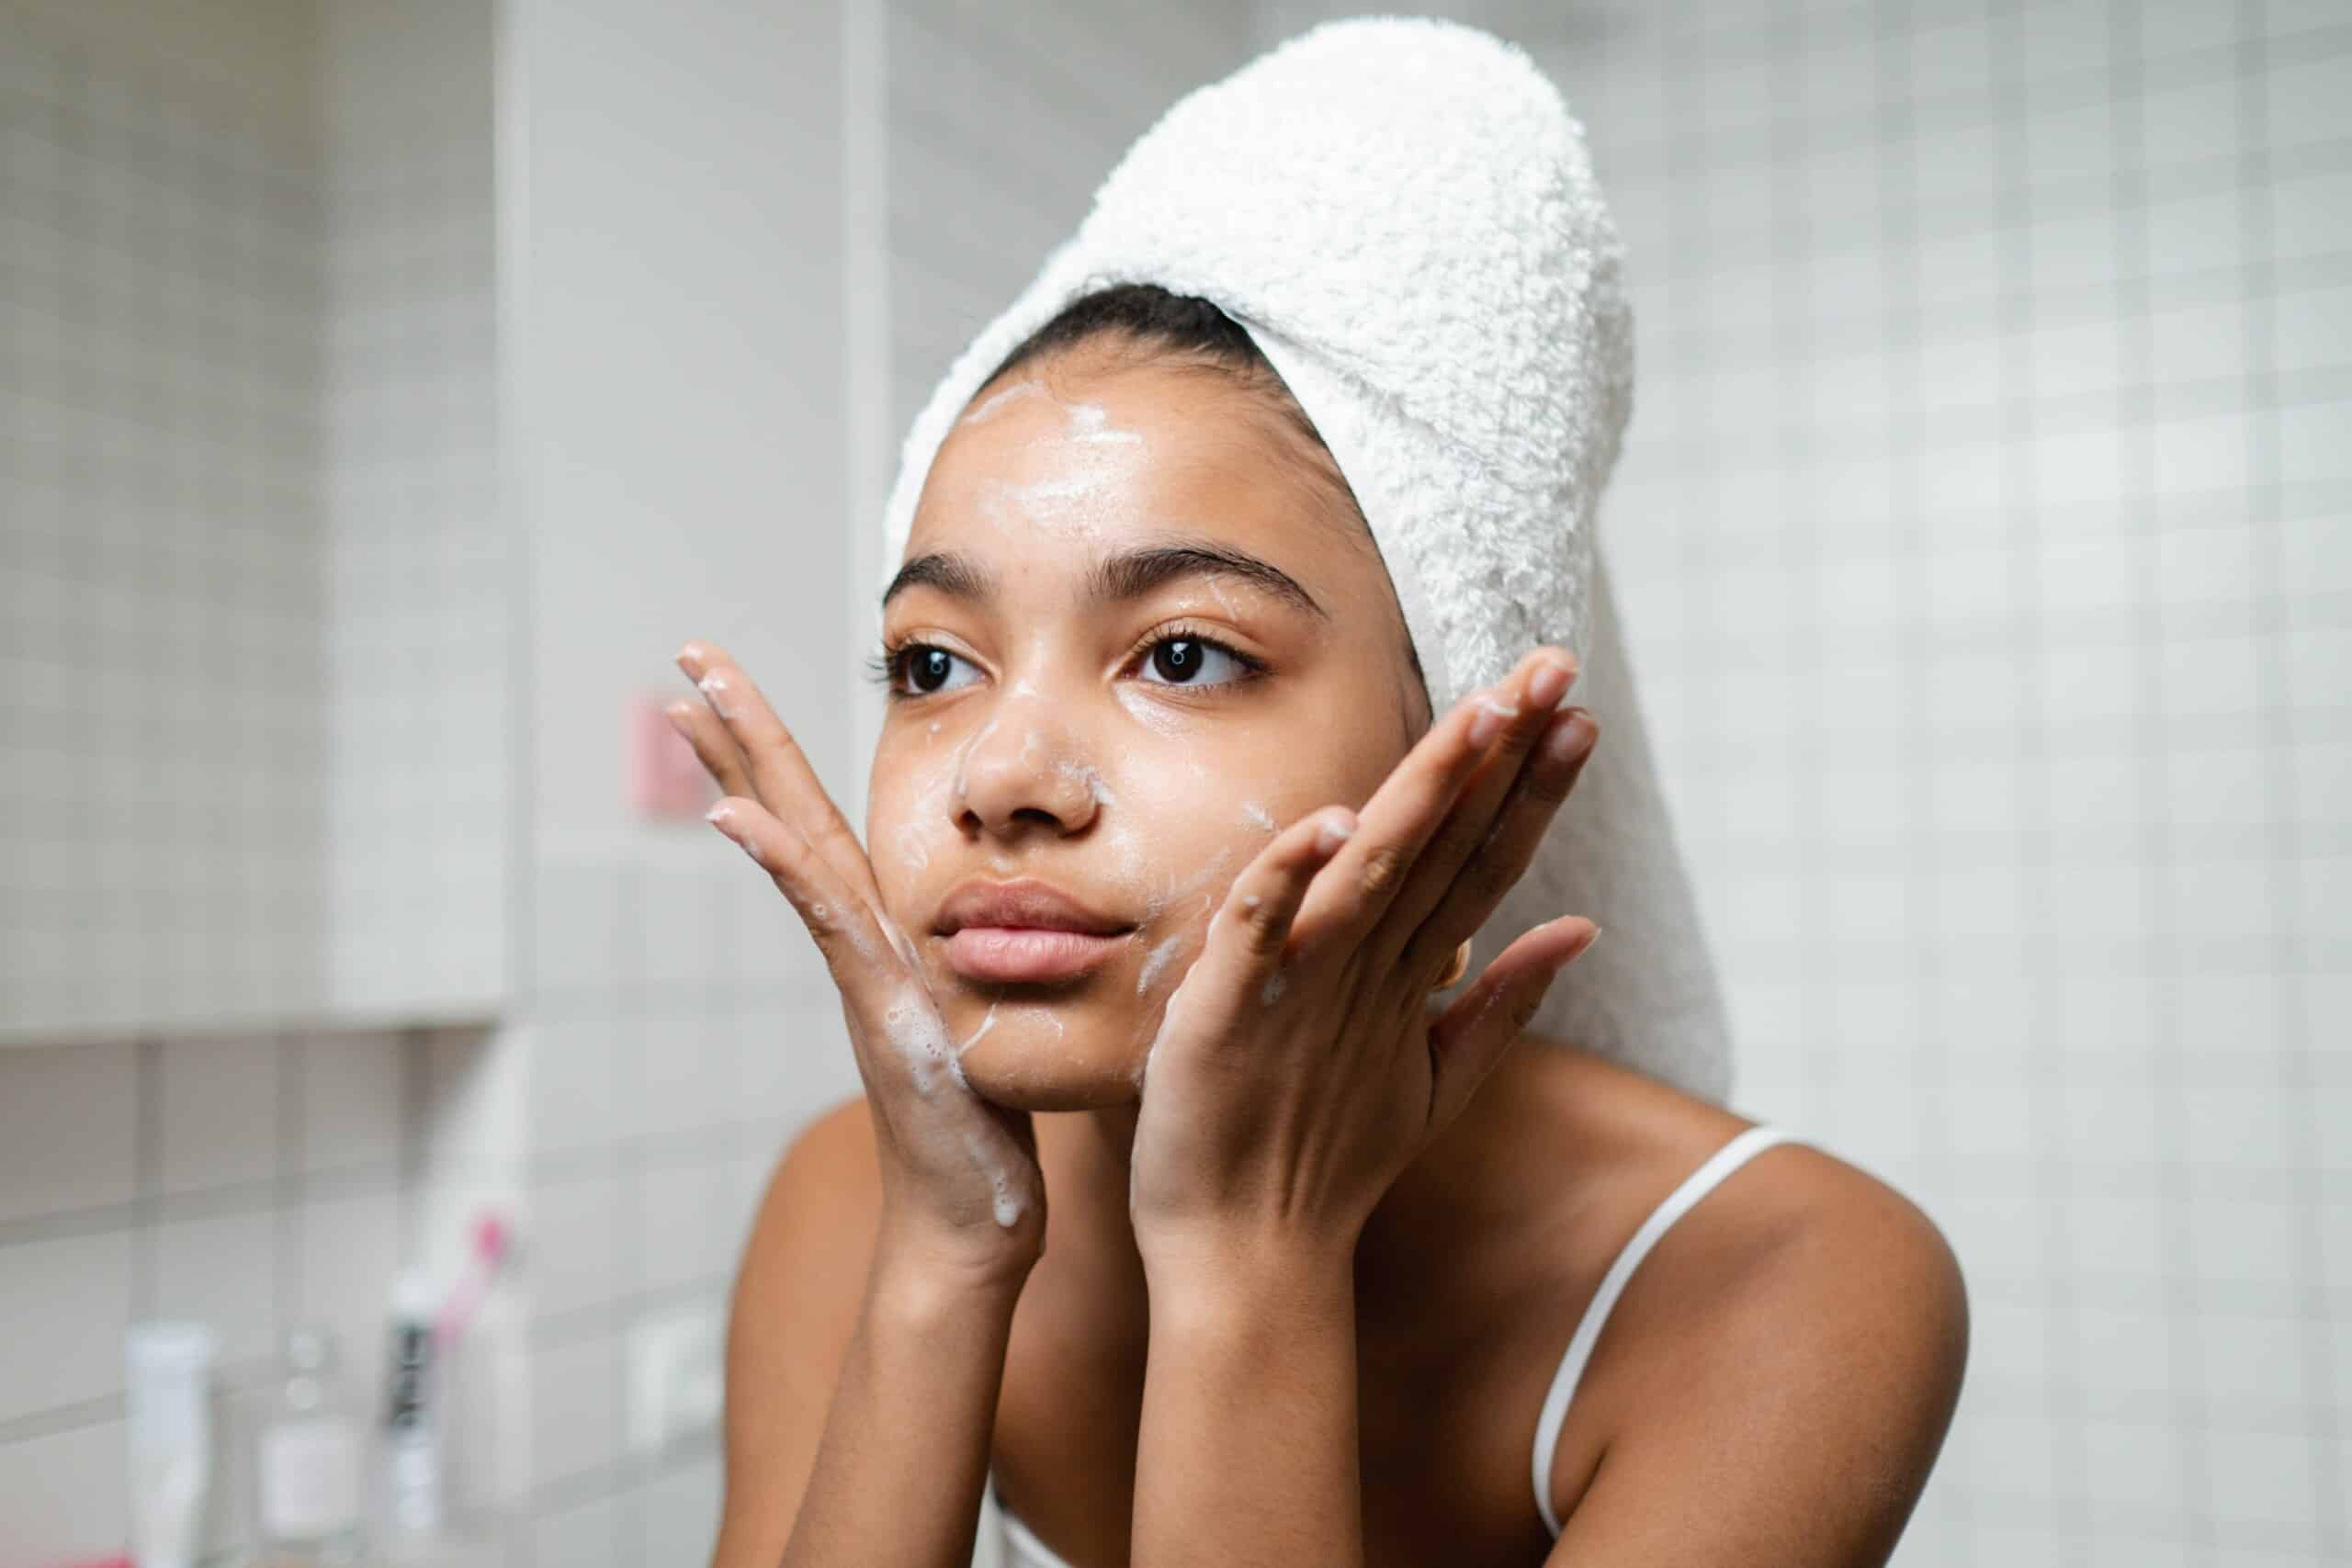
2. Cleanse like a pro
Once you’ve set up camp and are fully comfortable, it’s time to get down to business. The first order of business for any good at-home facial is deep cleansing.
Healthline advises that there is a big difference between cleansing for a facial and the typical daily cleanse you are probably used to as part of your at-home skin care routine. For one, cleansing before a facial at home is a multi-tiered process requiring multiple cleansers. Additionally, cleansing before a facial should be done gently and intentionally.
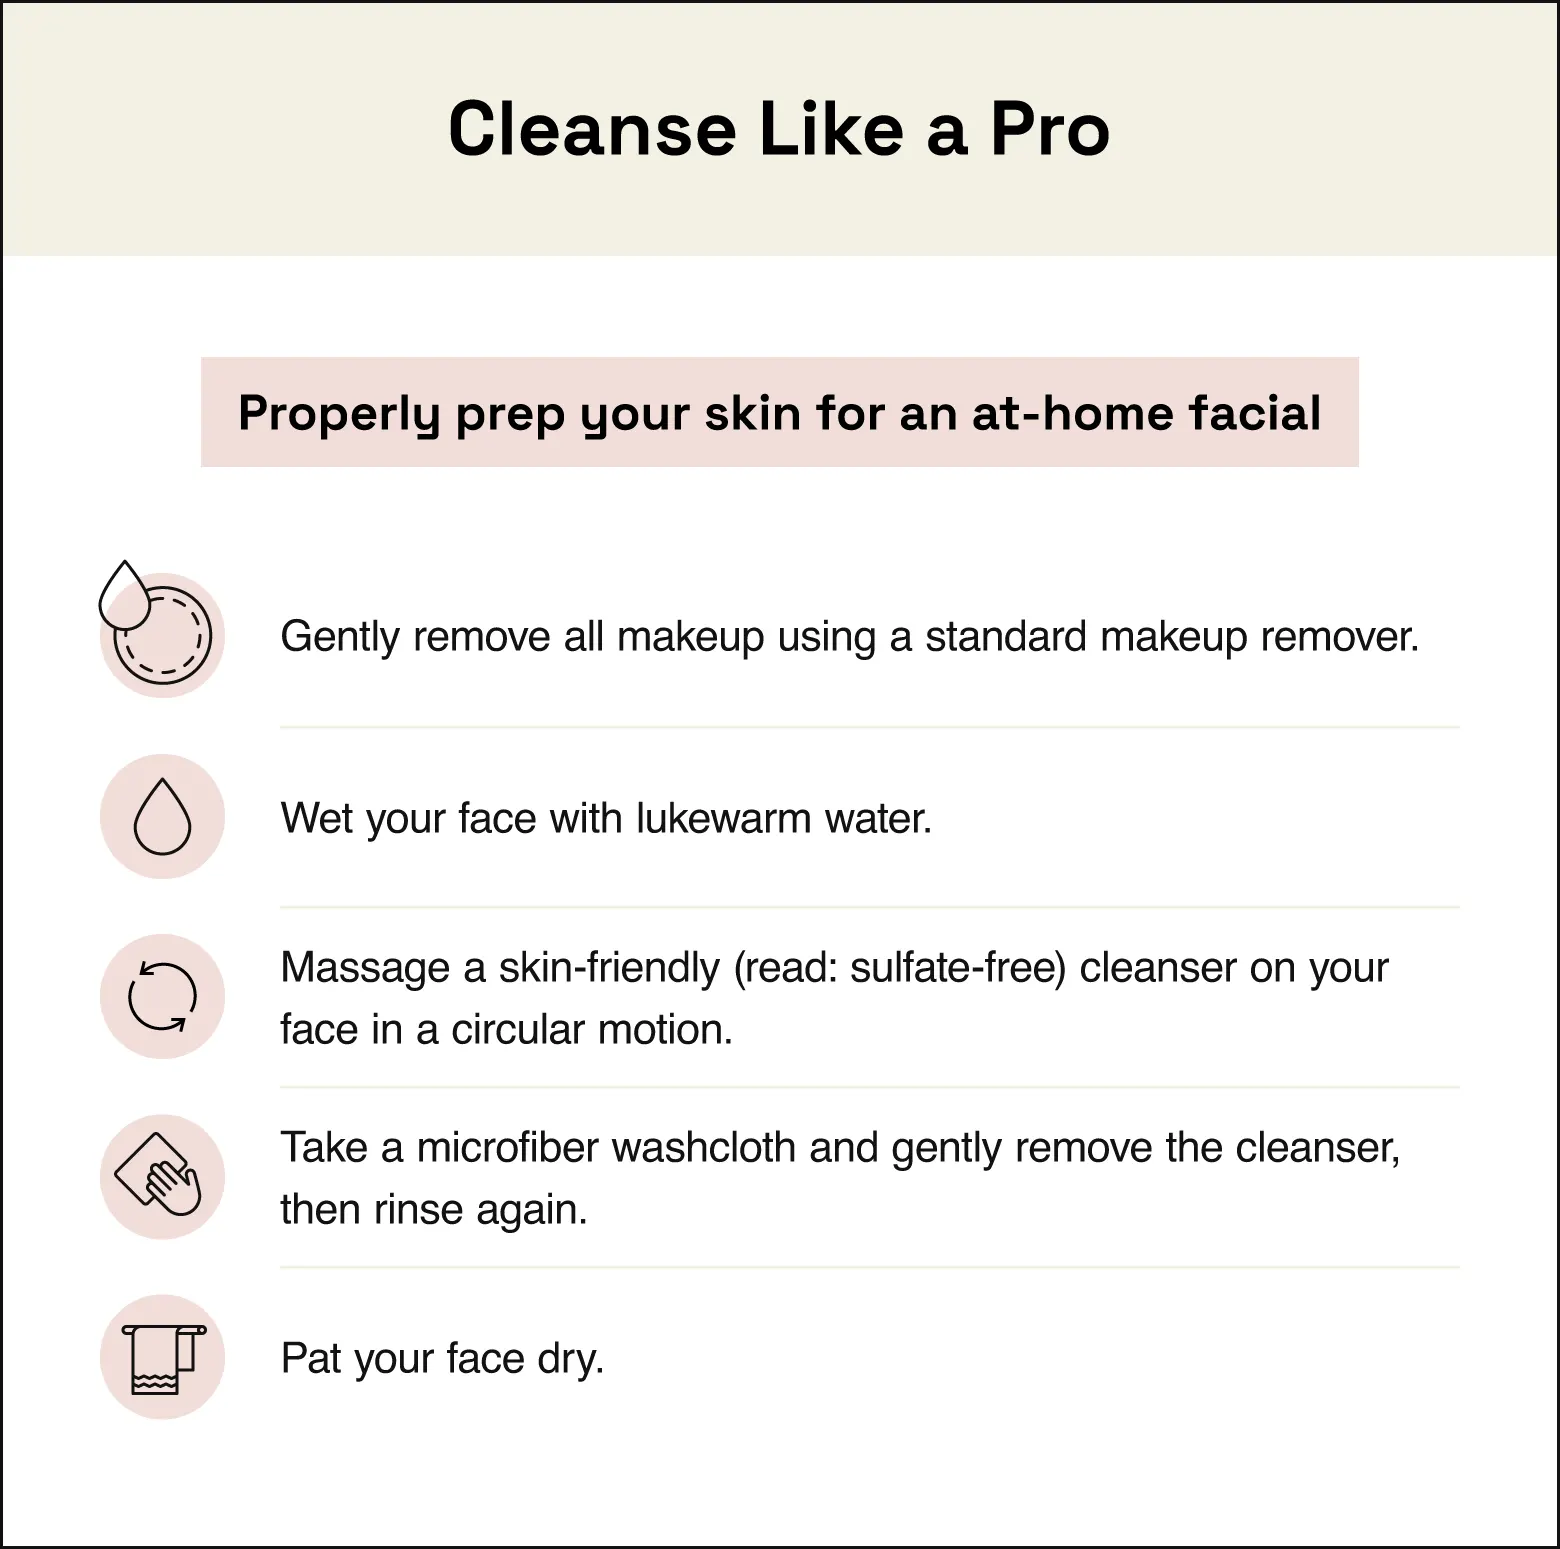
Here is the step-by-step cleansing process to gently and completely cleanse your face before continuing with the rest of the facial.
- Gently remove all makeup using a standard makeup remover.
- Wet your face with lukewarm water.
- Massage a skin-friendly (read: sulfate-free) cleanser on your face in a circular motion.
- Take a microfiber washcloth and gently remove the cleanser, then rinse again.
- Pat your face dry.
When cleansing your face before a facial at home, it’s vital to use the right facial cleanser. Products without any additives are typically best. Whatever brand you use, make sure to begin with an oil-based cleanser to lift out any remaining makeup or dirt that might be clinging to the skin, and then transition to a sulfate-free water-based cleanser for a deeper clean.
Cleaning your face sets the base for an invigorating facial experience and allows your skin to truly take in all the hydrating, moisturizing, and toning you’re about to embark on.
3. Exfoliate and refresh
After your skin is clean, it’s time to exfoliate by gently scrubbing your face. At this point, you may be wondering, “Didn’t I just do that?” The short answer is no — cleansing and exfoliating are very different.
Cleansing using a face wash cleans the surface of the skin, whereas exfoliating strips away any dead skin cells that may be hanging around.
If you’ve ever wondered if facials are good for your skin, the answer is absolutely. But you need to exfoliate first for them to be most effective. Exfoliation just means getting rid of old skin cells so that the new skin cells can better absorb your facial treatment. That’s why you don’t scrub hard while you’re cleaning — the exfoliation process is a more effective method of bringing new skin cells to the surface of the derma.
Here are some easy at-home ways to exfoliate:
- Use an exfoliating tool like a brush or wand.
- Use a microdermabrasion scrub or other textured exfoliating scrub.
- Use an AHA or BHA chemical exfoliant.
Exfoliating doesn’t need to be intense to be effective. Generally, it’s the exfoliator that does all the work for you. Skin cells are not as stubborn as you may think, so you can gently scrub and your exfoliant will help shed any dead skin cells.
4. Choose a mask
There are four basic kinds of at-home face masks:
| Types of At-Home Face Masks | |
|---|---|
| Gel | Best for eliminating redness due to their cooling properties |
| Cream | Best for moisturizing dry skin |
| Clay | Best for unclogging pores and pulling out oils |
| Sheet | Best for hydrating, tightening, and brightening dull skin |
Aside from giving yourself a little facial massage, this is the part where you get to sit back and relax. You can’t really do much while the mask is on, so it’s the perfect excuse to close your eyes and do nothing. Enjoy the “me” time!
5. Time to moisturize
After 15-20 minutes with the facial mask on, it’s time to gently remove and rinse. Allure recommends that you carefully remove all remnants of the mask with a damp towel without using any soap or facial cleanser. Once the mask is completely removed, blot your skin with a dry towel to remove any excess moisture.
Speaking of moisture, grab your favorite moisturizer and apply it to your skin. Feel free to also add a little spot treatment for dark spots or acne at this part of the process.
Once you have completely rubbed in the moisturizer, you’re free to kick back and admire your beautiful glowing skin. With your skin feeling so soft and supple, you may even start wondering how often to get a facial to relive the soothing experience!
6. Aftercare and follow-up
Getting the most out of your at-home facial hinges on this vital step for continued skin success. Sure, an at-home spa treatment is great, but it may not be feasible every day. Town and Country reminds readers that you’re going to need a regular routine to help keep your skin glowing and your pores perfect. Lucky for you, we have a simple routine right here:
- Cleanse. Cleansing your skin daily will keep it clean and fresh. You may have bought a cleanser, especially for your at-home facial, but you can actually use the same one on a daily basis.
- Tone. This daily skin care step is a great way to keep your skin taut and bright. Toners that have natural ingredients are best for your skin, so try to use something like hyaluronic acid and avoid anything with alcohol in it.
- Moisturize. This is perhaps the most important part of any daily skin care routine. Any skin type craves hydration, and your moisturizer isnecessary to keep your skin happy and healthy. To enhance your skin’s hydration, consider incorporating a vitamin C or hyaluronic acid serum after you tone your face and before you apply your moisturizer.
The first three steps of your daily skin care routine should be the same for morning and night. In the morning, finish your routine with a little sunscreen to protect your skin during the day. At night, finish with a vitamin-rich serum to lock in the hydration of your moisturizing cream.
At-home facial FAQs
To do a facial at home, you should follow these basic steps:
1. Cleanse
2. Exfoliate
3. Mask
4. Moisturize
5. Follow up
Even if you prefer at-home facials, it’s a good idea to schedule a facial with your esthetician every once in a while for their expert suggestions on how to improve your routine.
Noninvasive facials such as gel, cream, clay, or sheet mask facials can be done at home. If you’d like to get a stronger facial such as a chemical peel or dermaplaning, you should always book these appointments with a professional.
Yes. To maintain your skin between appointments, you can give yourself a facial at home. We recommend sticking with simple and gentle masks at home, and letting professionals take care of the rest.
Make your next spa day special
A facial at home can be lovely, but the next time you’re itching for the full spa experience, let StyleSeat help you book an appointment. With just a few easy clicks, we can connect you to the best skin care professionals in your area.
Whether you’re looking to book a custom facial, want a bit of pampering, or are ready for a full-on spa day, we can help get you the appointment you want.


Related articles